Grad (Module 4)

Ever since I transfered to Columbia, I’ve been told more times than I can count that I’d be up against the wire to finish my degree on time. A few weeks ago, I got some helpful advice:

I land one class short of a major in computer science this semester: my senior
spring. So, come May 17th, I’ll walk with my class after a frankly grueling
semester of taking 8 courses and TAing another, expecting an empty diploma. As
much as I know it’s not important when I graduate, so long as I do, I
can’t help but feel like I failed (and, technically, I did).
The intention of this project wasn’t to confront my overwhelming fear of failure; it was originally a joke about the Sisyphean semester from hell (I haven’t found much time to think creatively). Nonetheless, laughing at my situation has been oddly comforting.
And, for the record, I’ve never regretted transferring here, despite the challenges. It’s undoubtedly been the best few years of my life.
Gameplay
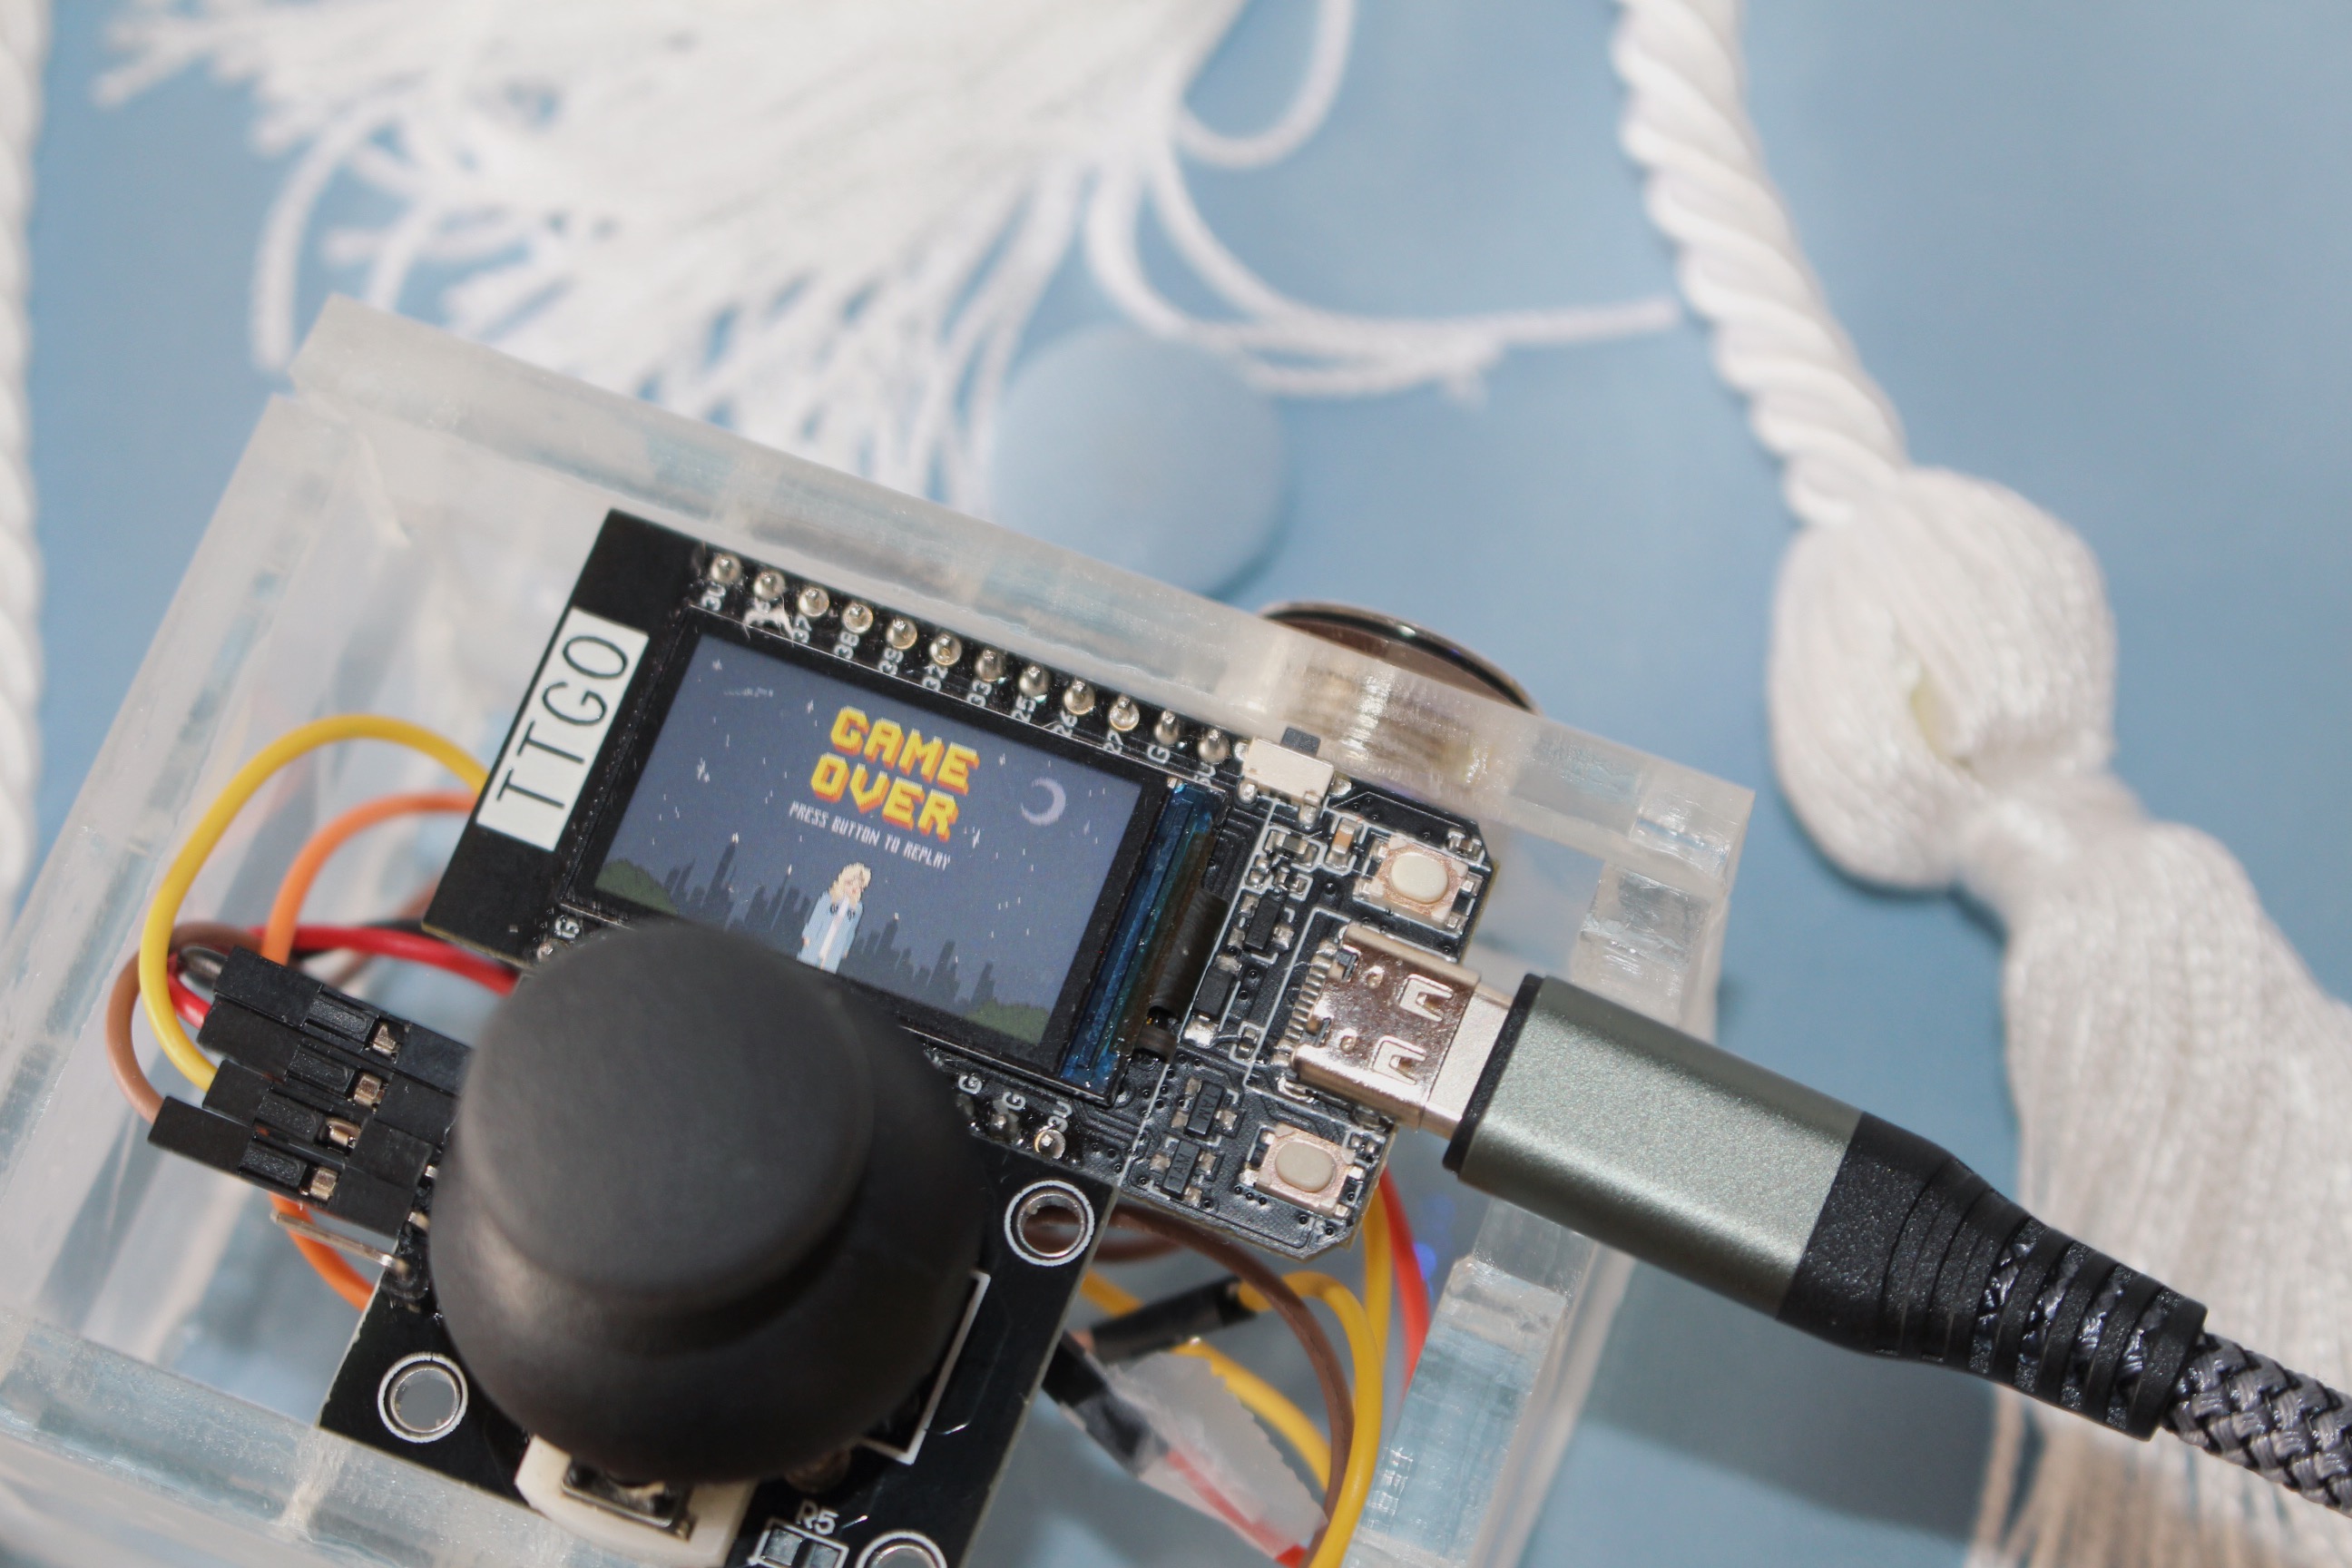
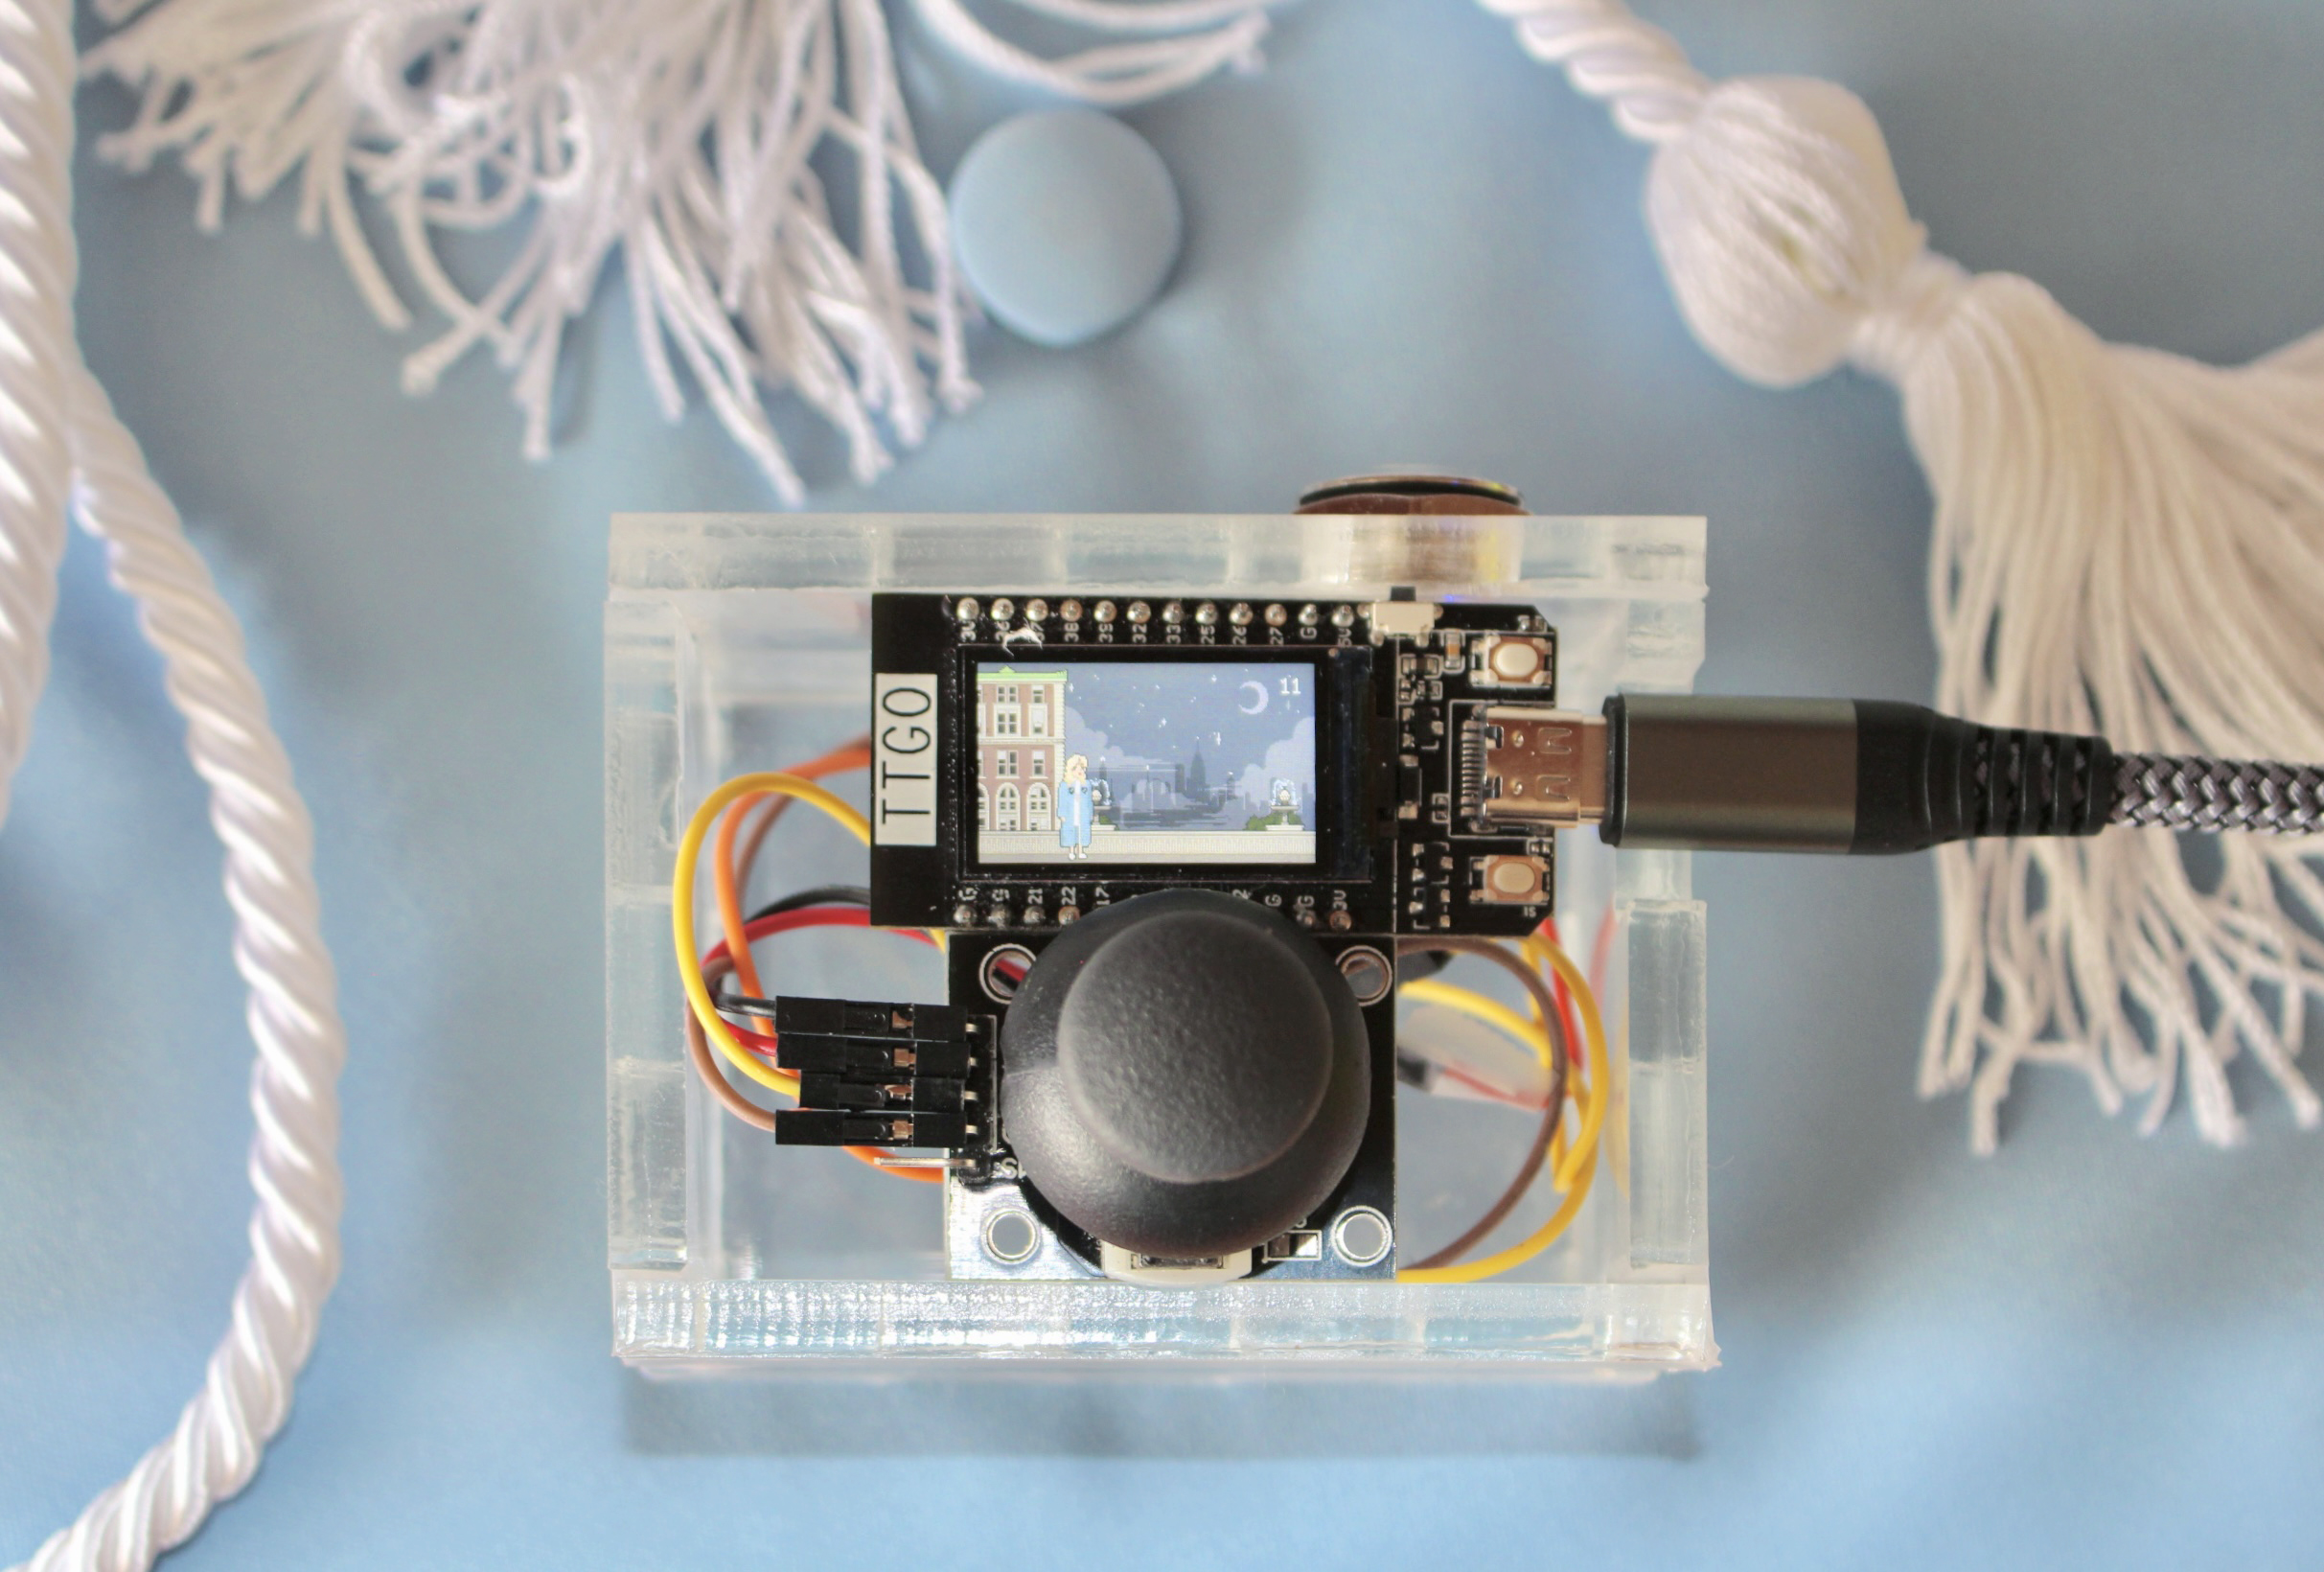
The game is simple. It’s inspired by the Chrome dinosaur game, and involves moving with the joystick to avoid obstacles (bad grades). If you get to 1000 without running into a bad grade, you graduate!
Technical overview
I’ve written out the steps I took to configure the Arduino IDE here.
Wiring and hardware
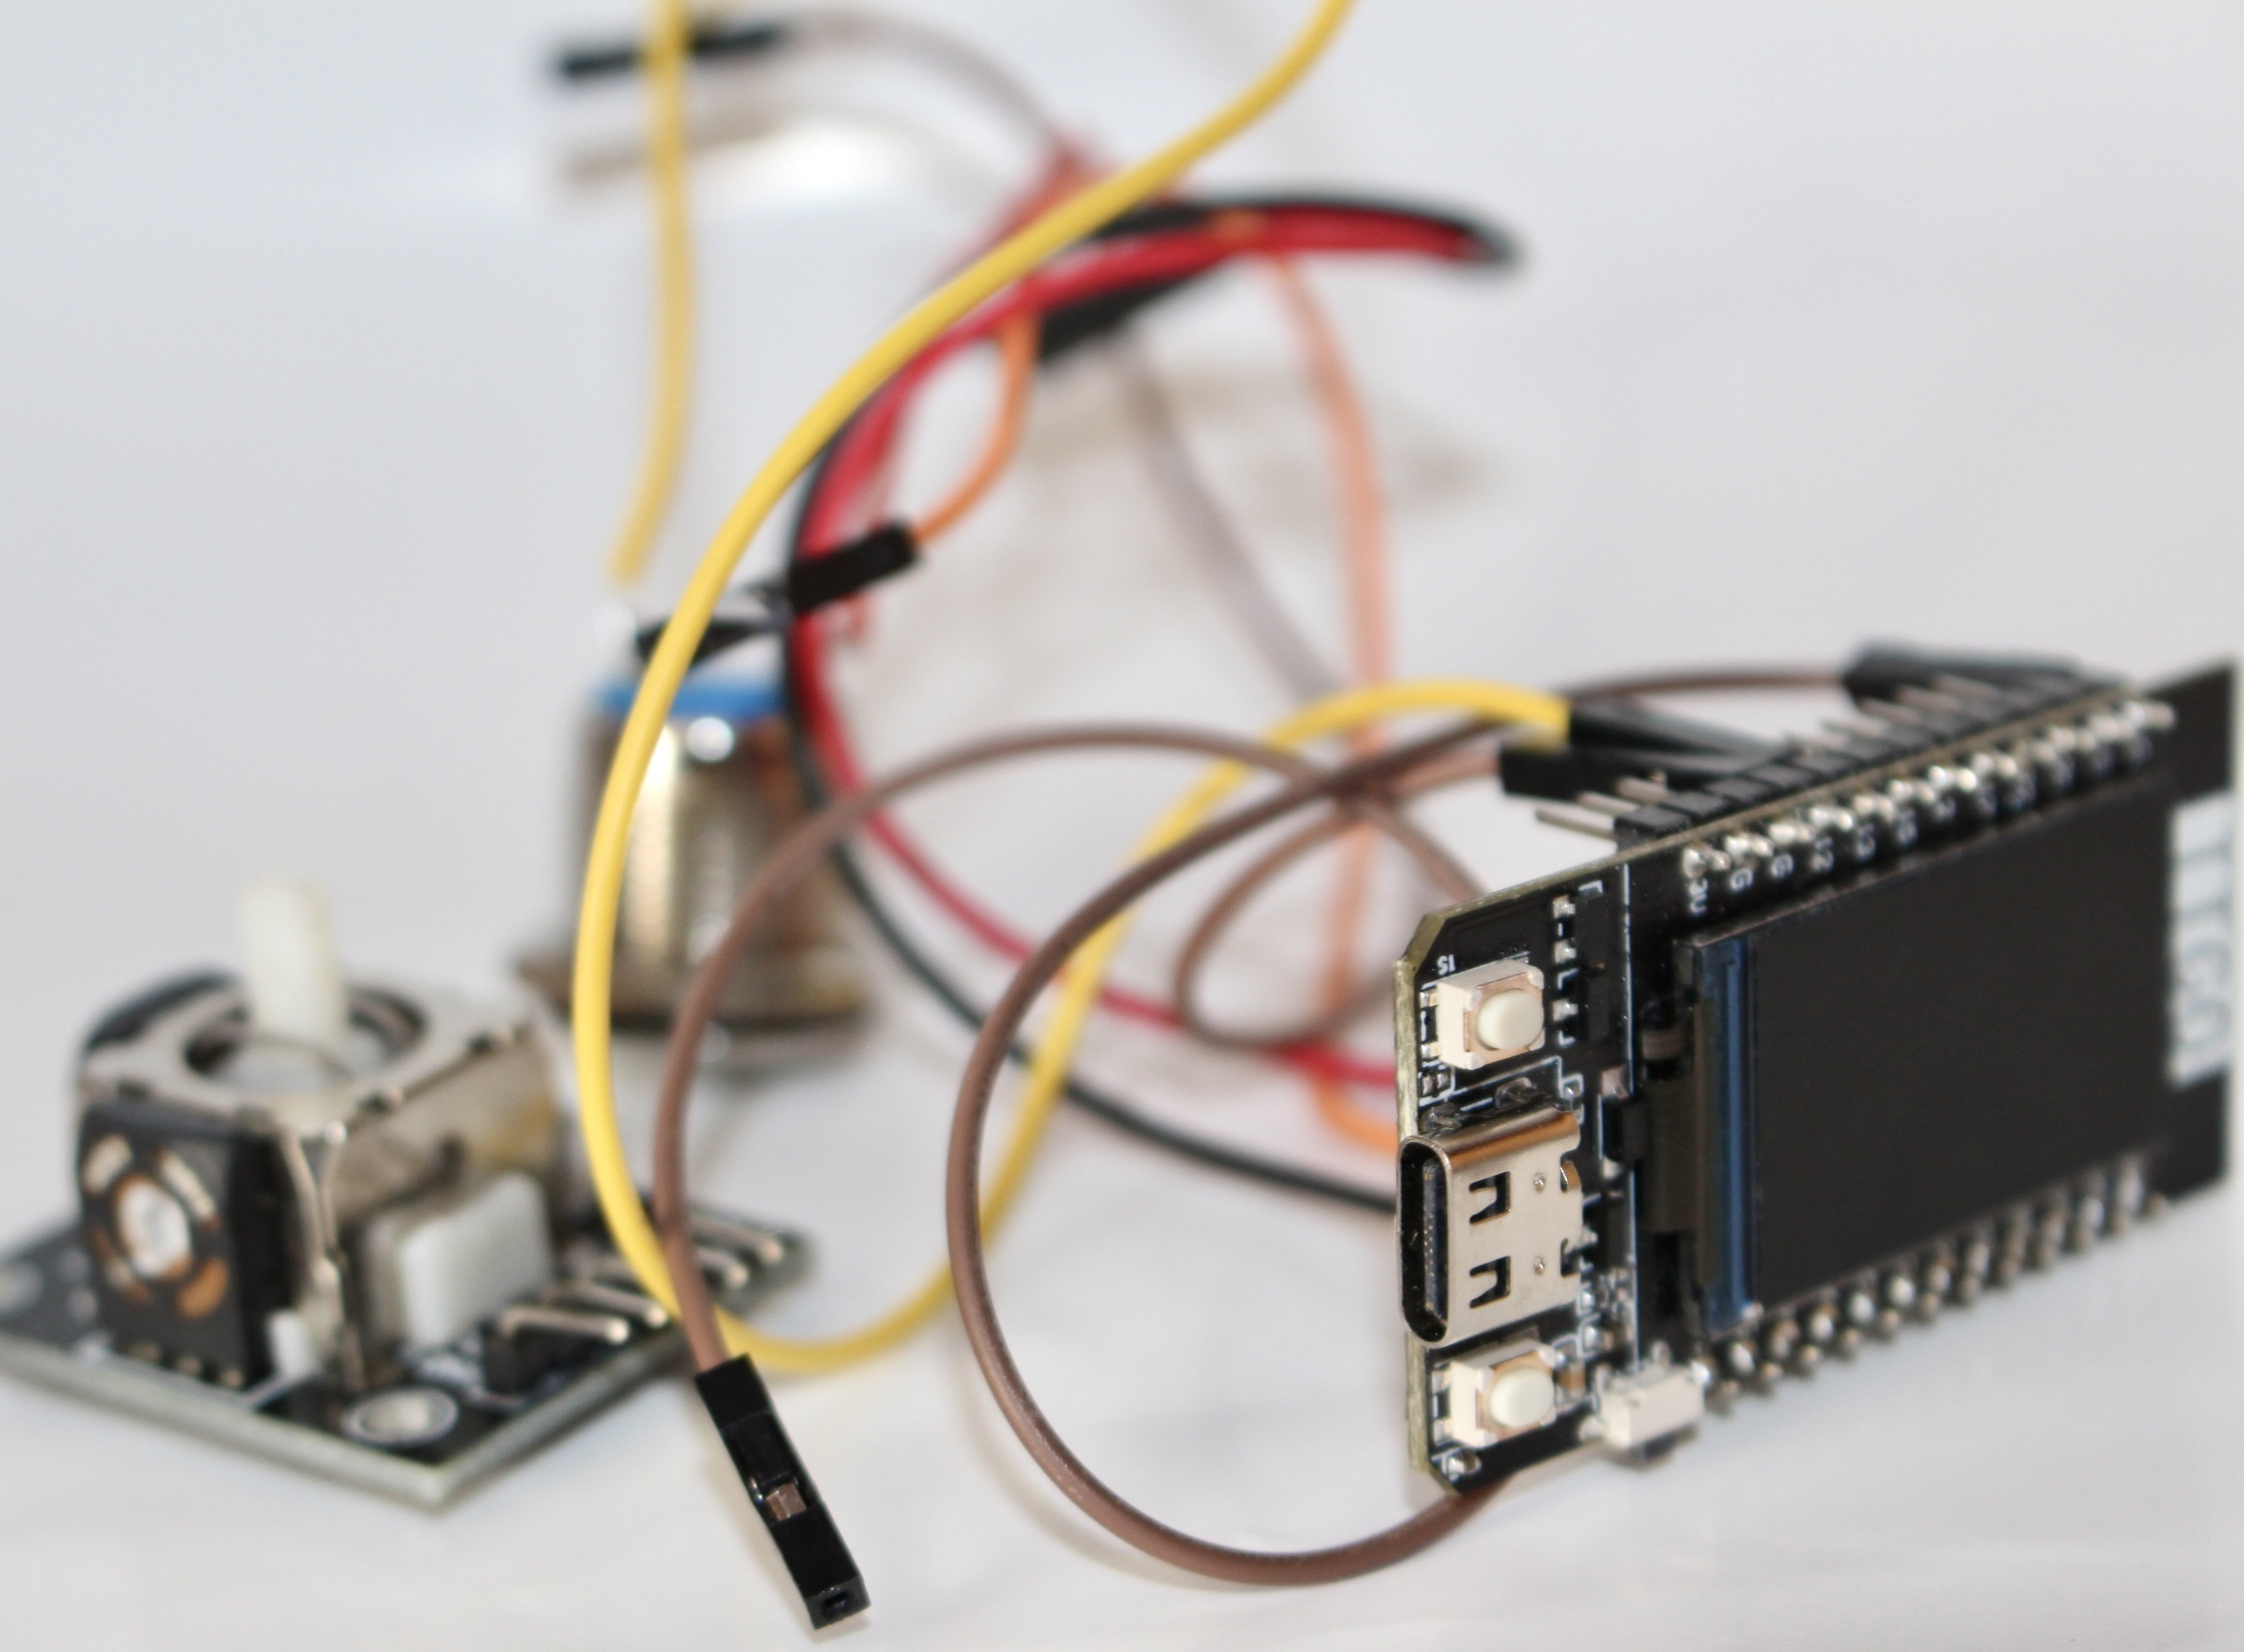
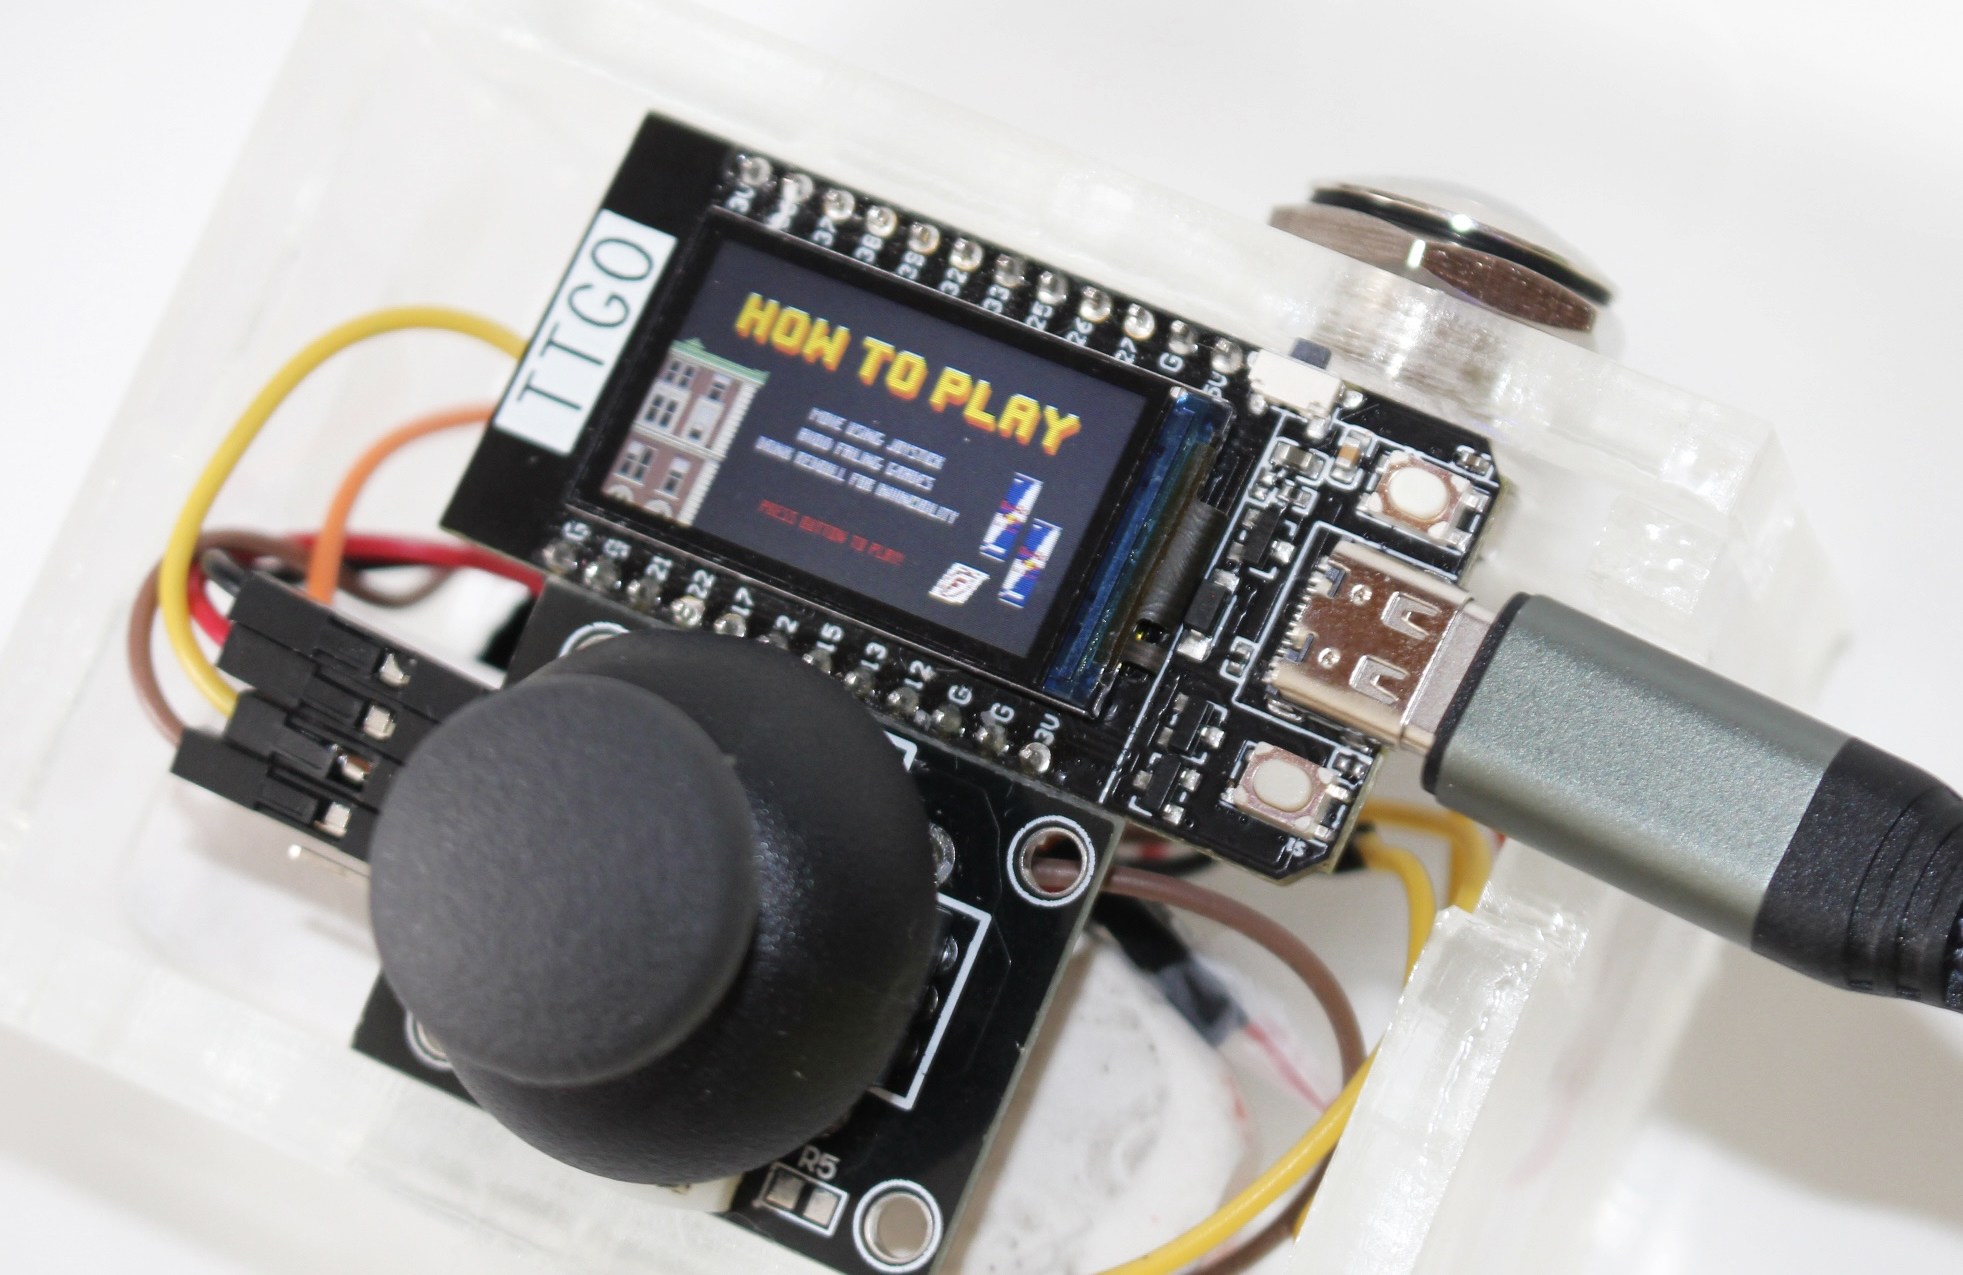
For this project, I used a joystick and a button in addition to the ESP32.
I used 7 wires: 5 female-to-female and 2 female-to-male. I connected ground on the joystick to ground on the ESP32 (black wire), 5V to a 3V3 pin (red wire), VRX to pin 13 (yellow), and VRY to pin 12 (brown):
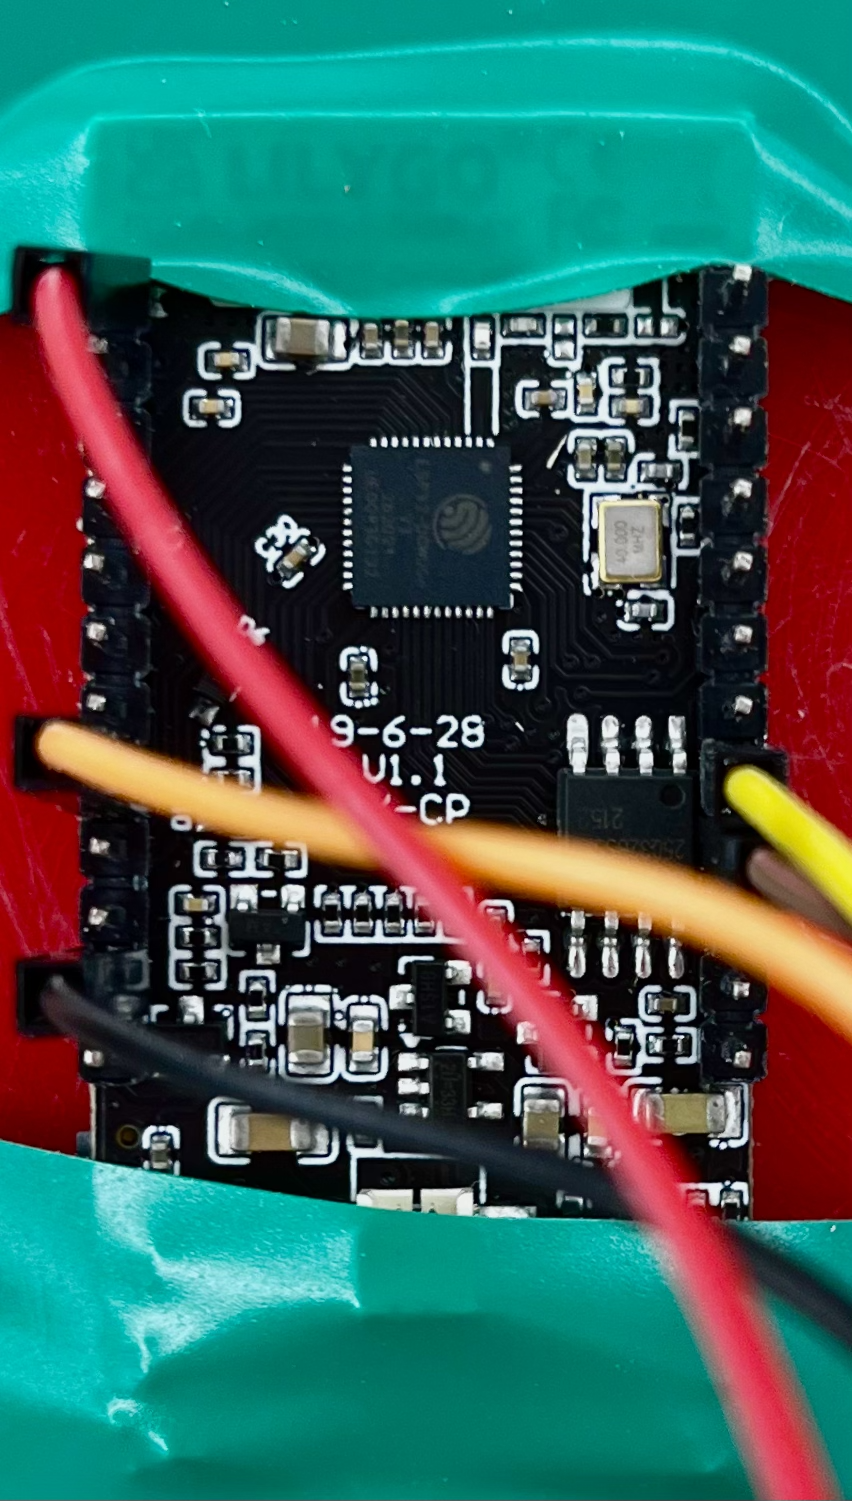
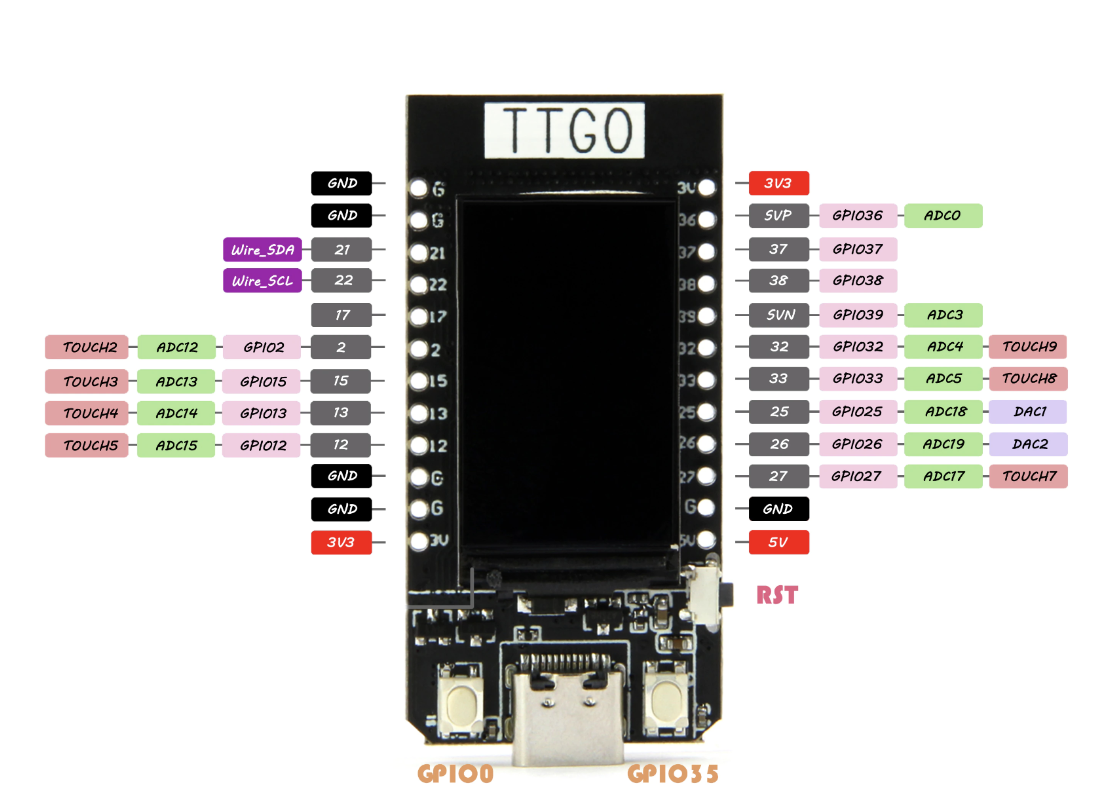
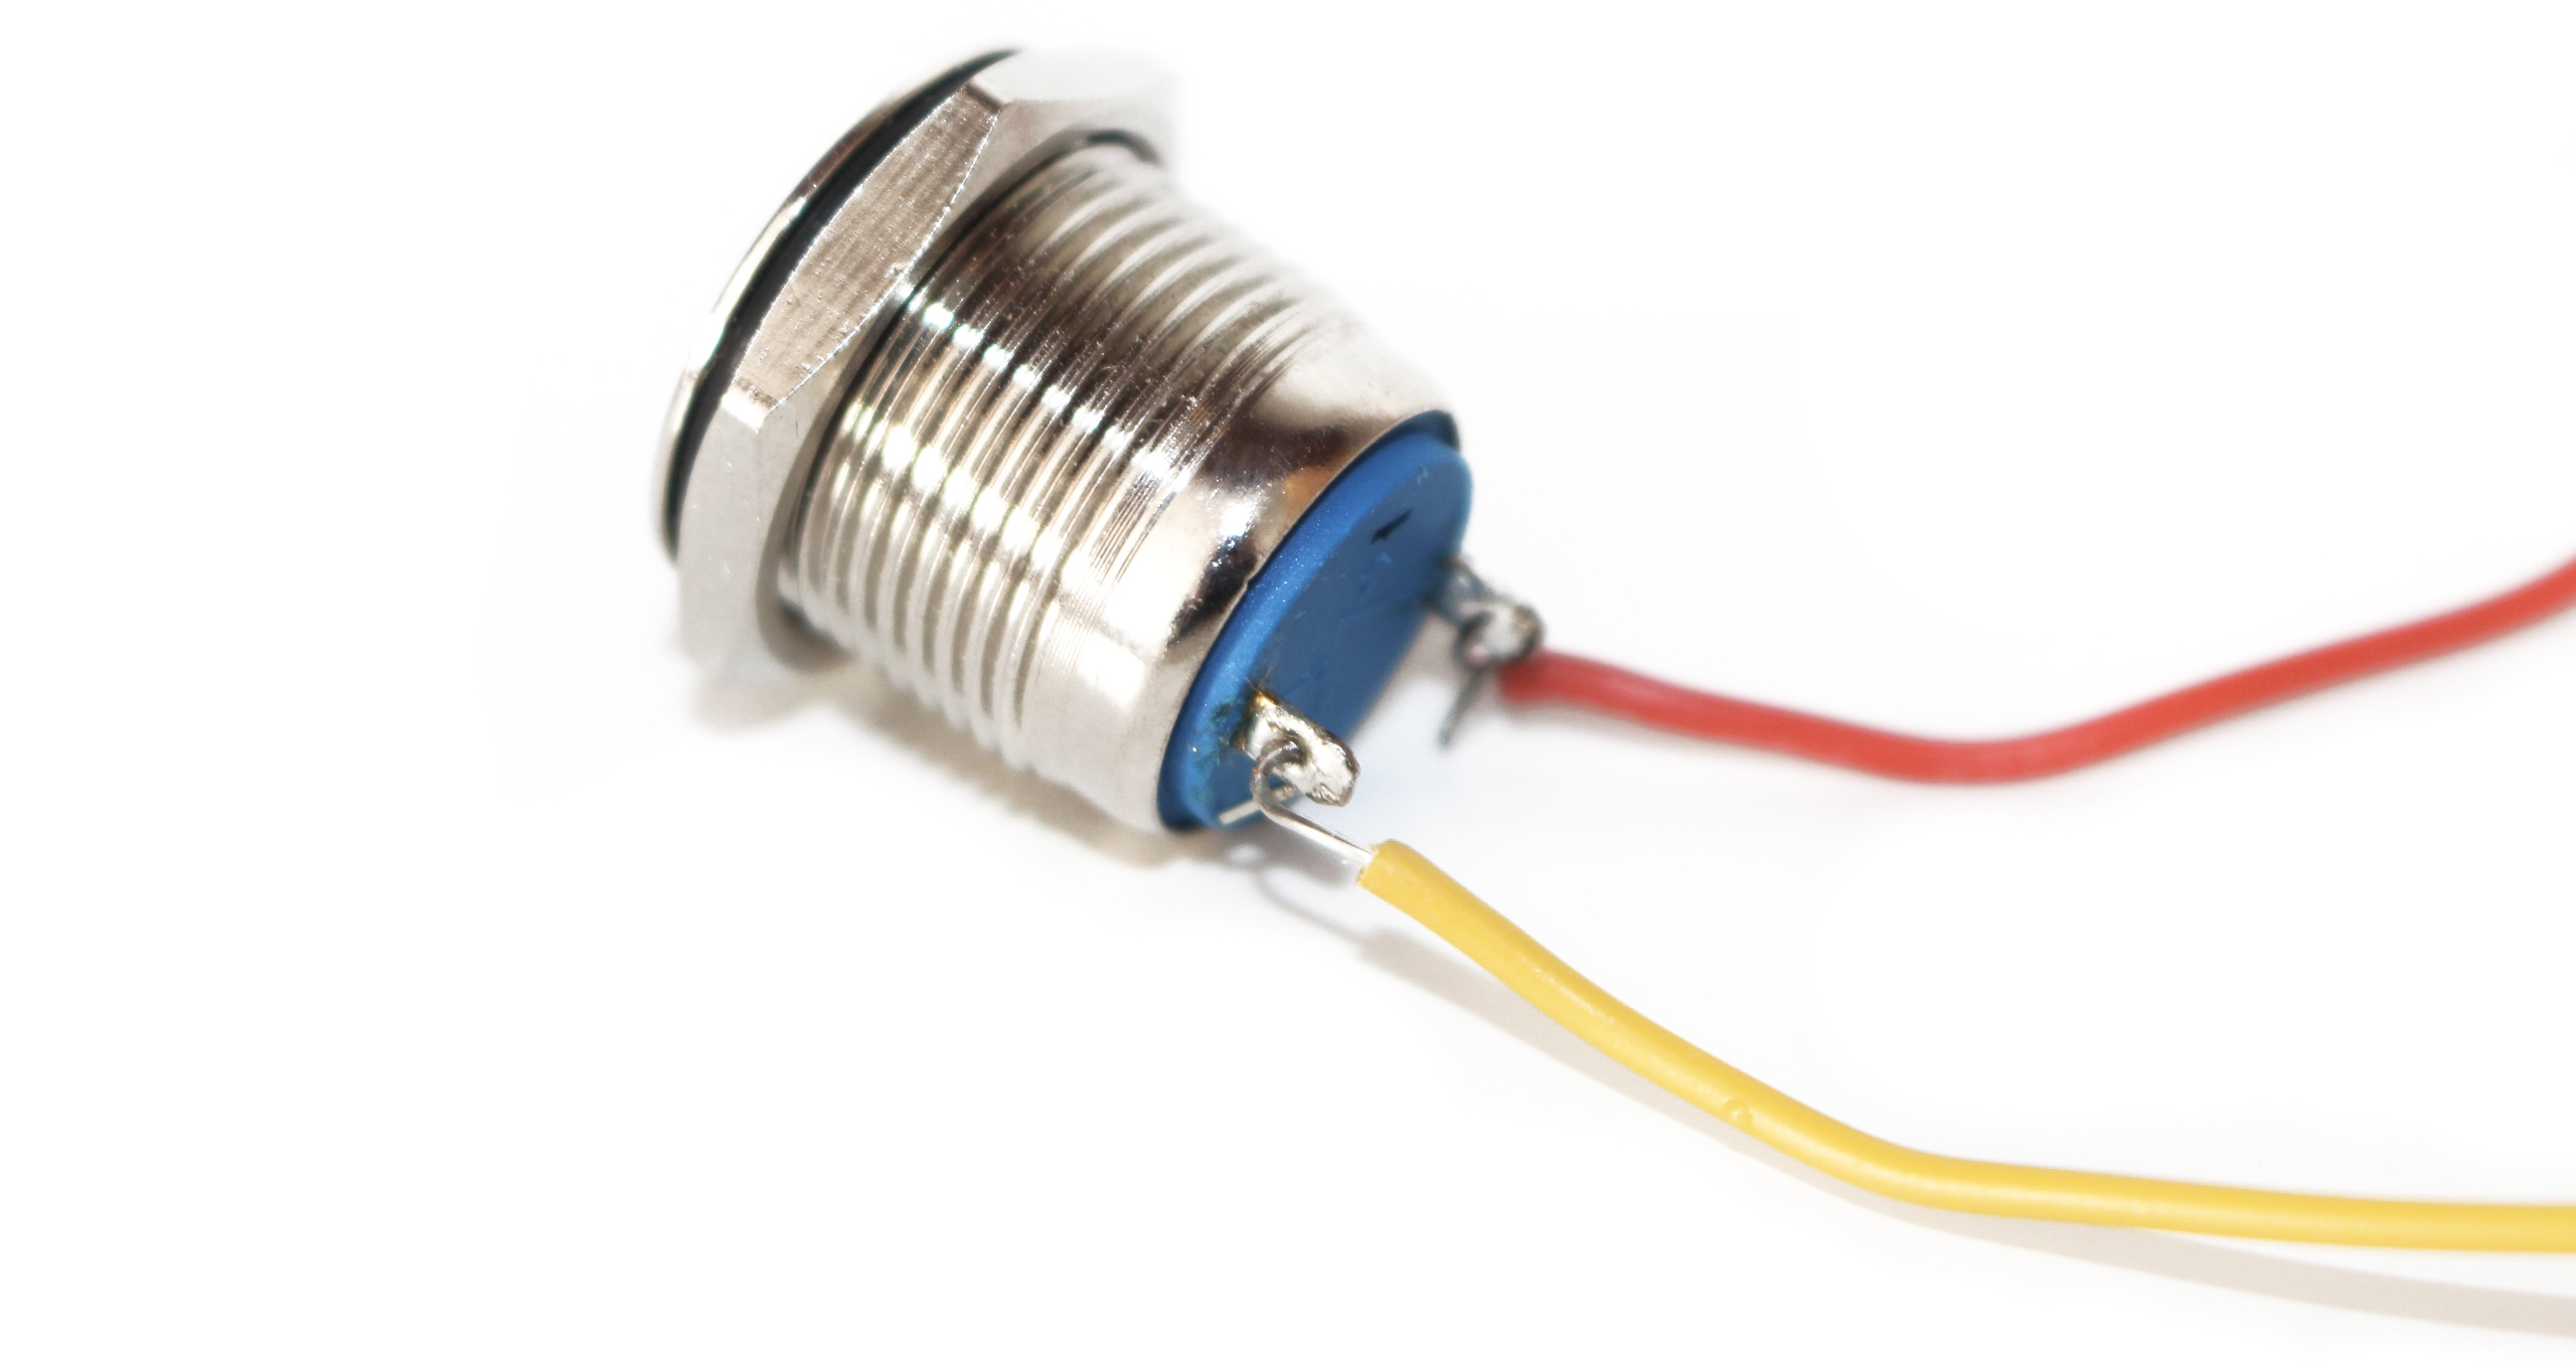
Mark very kindly lent me a nice shiny button, to which I soldered two wires. One connected to ground on the ESP32, and one to pin 25 (orange, above).
Software
I used TFT eSprites for the animation in this project. They are reasonable to work with, albeit a bit annoying sometimes. This YouTube channel has made some great videos on TFT eSprites for beginners, which helped me work with the API. I encountered a few difficulties with transparency (which you have to solve by exporting an image with a background color, then passing that color as an argument to the eSprite functions), and with animation (you can push the sprites to a background image instead of just pushing them, which improves the quality).
I had to use this
website to convert my images into byte arrays, which then are included in .h
files (see this
directory for reference). This website is really great, and it appends the
sizes of everything to the header files, which is convenient when using
sprites.
The trickiest part of this was the trial-and-error of animation. I’ve never animated anything before, so it was an interesting experience.
The Anti-Enclosure
You’ve probably noticed that the project is in a box, but it isn’t covered. I had originally intended to cover the top with a transparent or translucent piece of acrylic, which means that the current state is not far from the ideal. I really liked the look of the raw electronics for this project because I wanted to emphasize the tinker-y feel of creating a very simple mini-console. My aesthetic focus for module 2 was to conceal the embedded system, but this module leans into it. There was originally a top to the box, but the dimensions were slightly off, and because the laser cutter wasn’t fully working, we had to manually hammer out each piece, which broke the edges of the acrylic uncleanly. I decided to leave it uncovered.
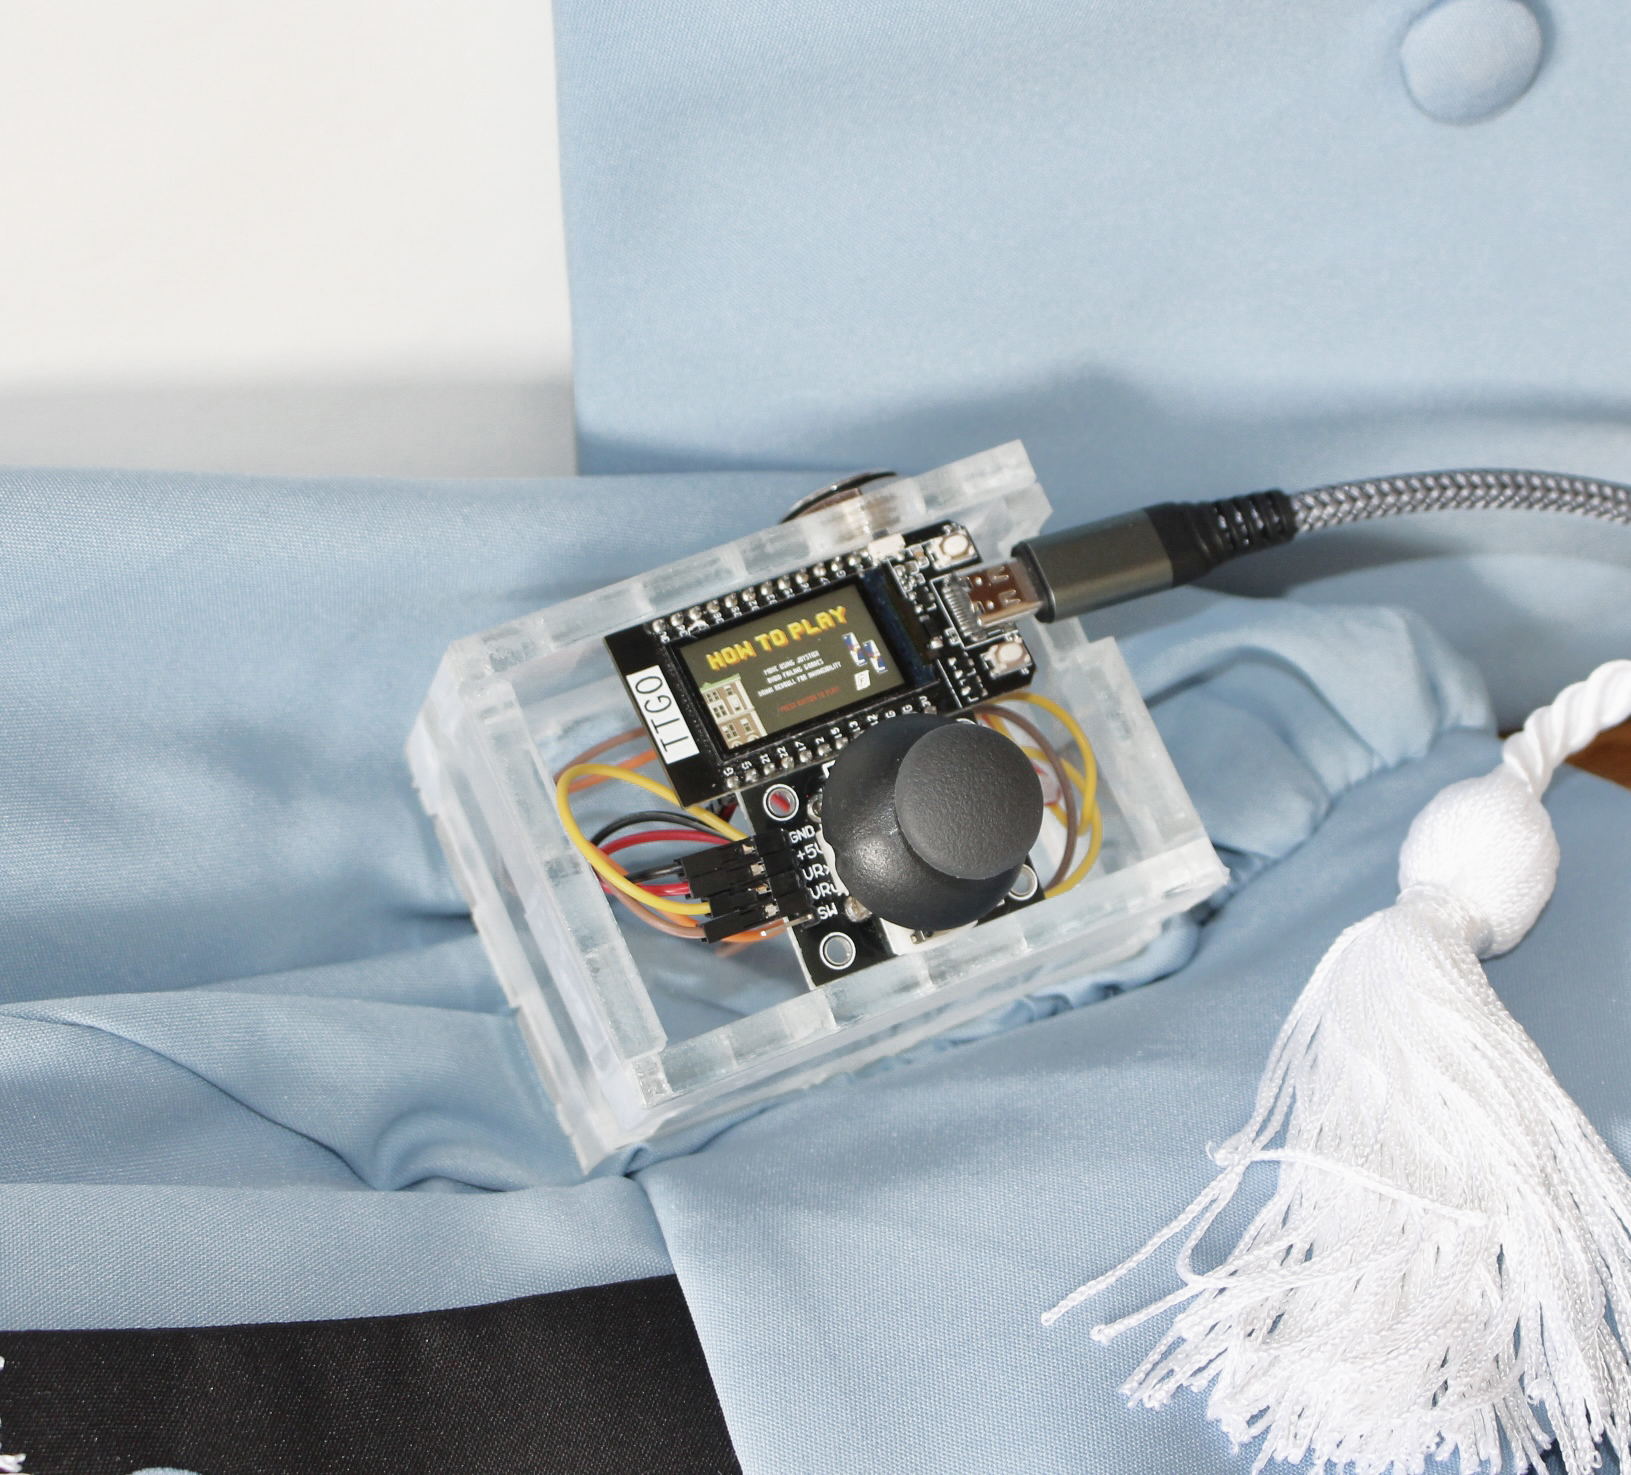
The existing enclosure is made from 6mm transparent acrylic. I used a similar box-making process as for module 2.
I used this website’s premade templates for the box’s body with the following settings:
- Basic box template
- Width: 70mm; height: 40mm; depth: 50mm
- Inside dimensions
- 6mm thickness (for my material)
- Open box
- Finger joint (finger width: 14.25mm)
I left a 16mm hole in one wall for the button and a hole for the USB-C cable. I really wanted to run this project off of a battery rather than my USB-C cable, since it does not communicate with my computer, but I ran out of time to explore my battery options. In the future, I’d definitely use a battery.
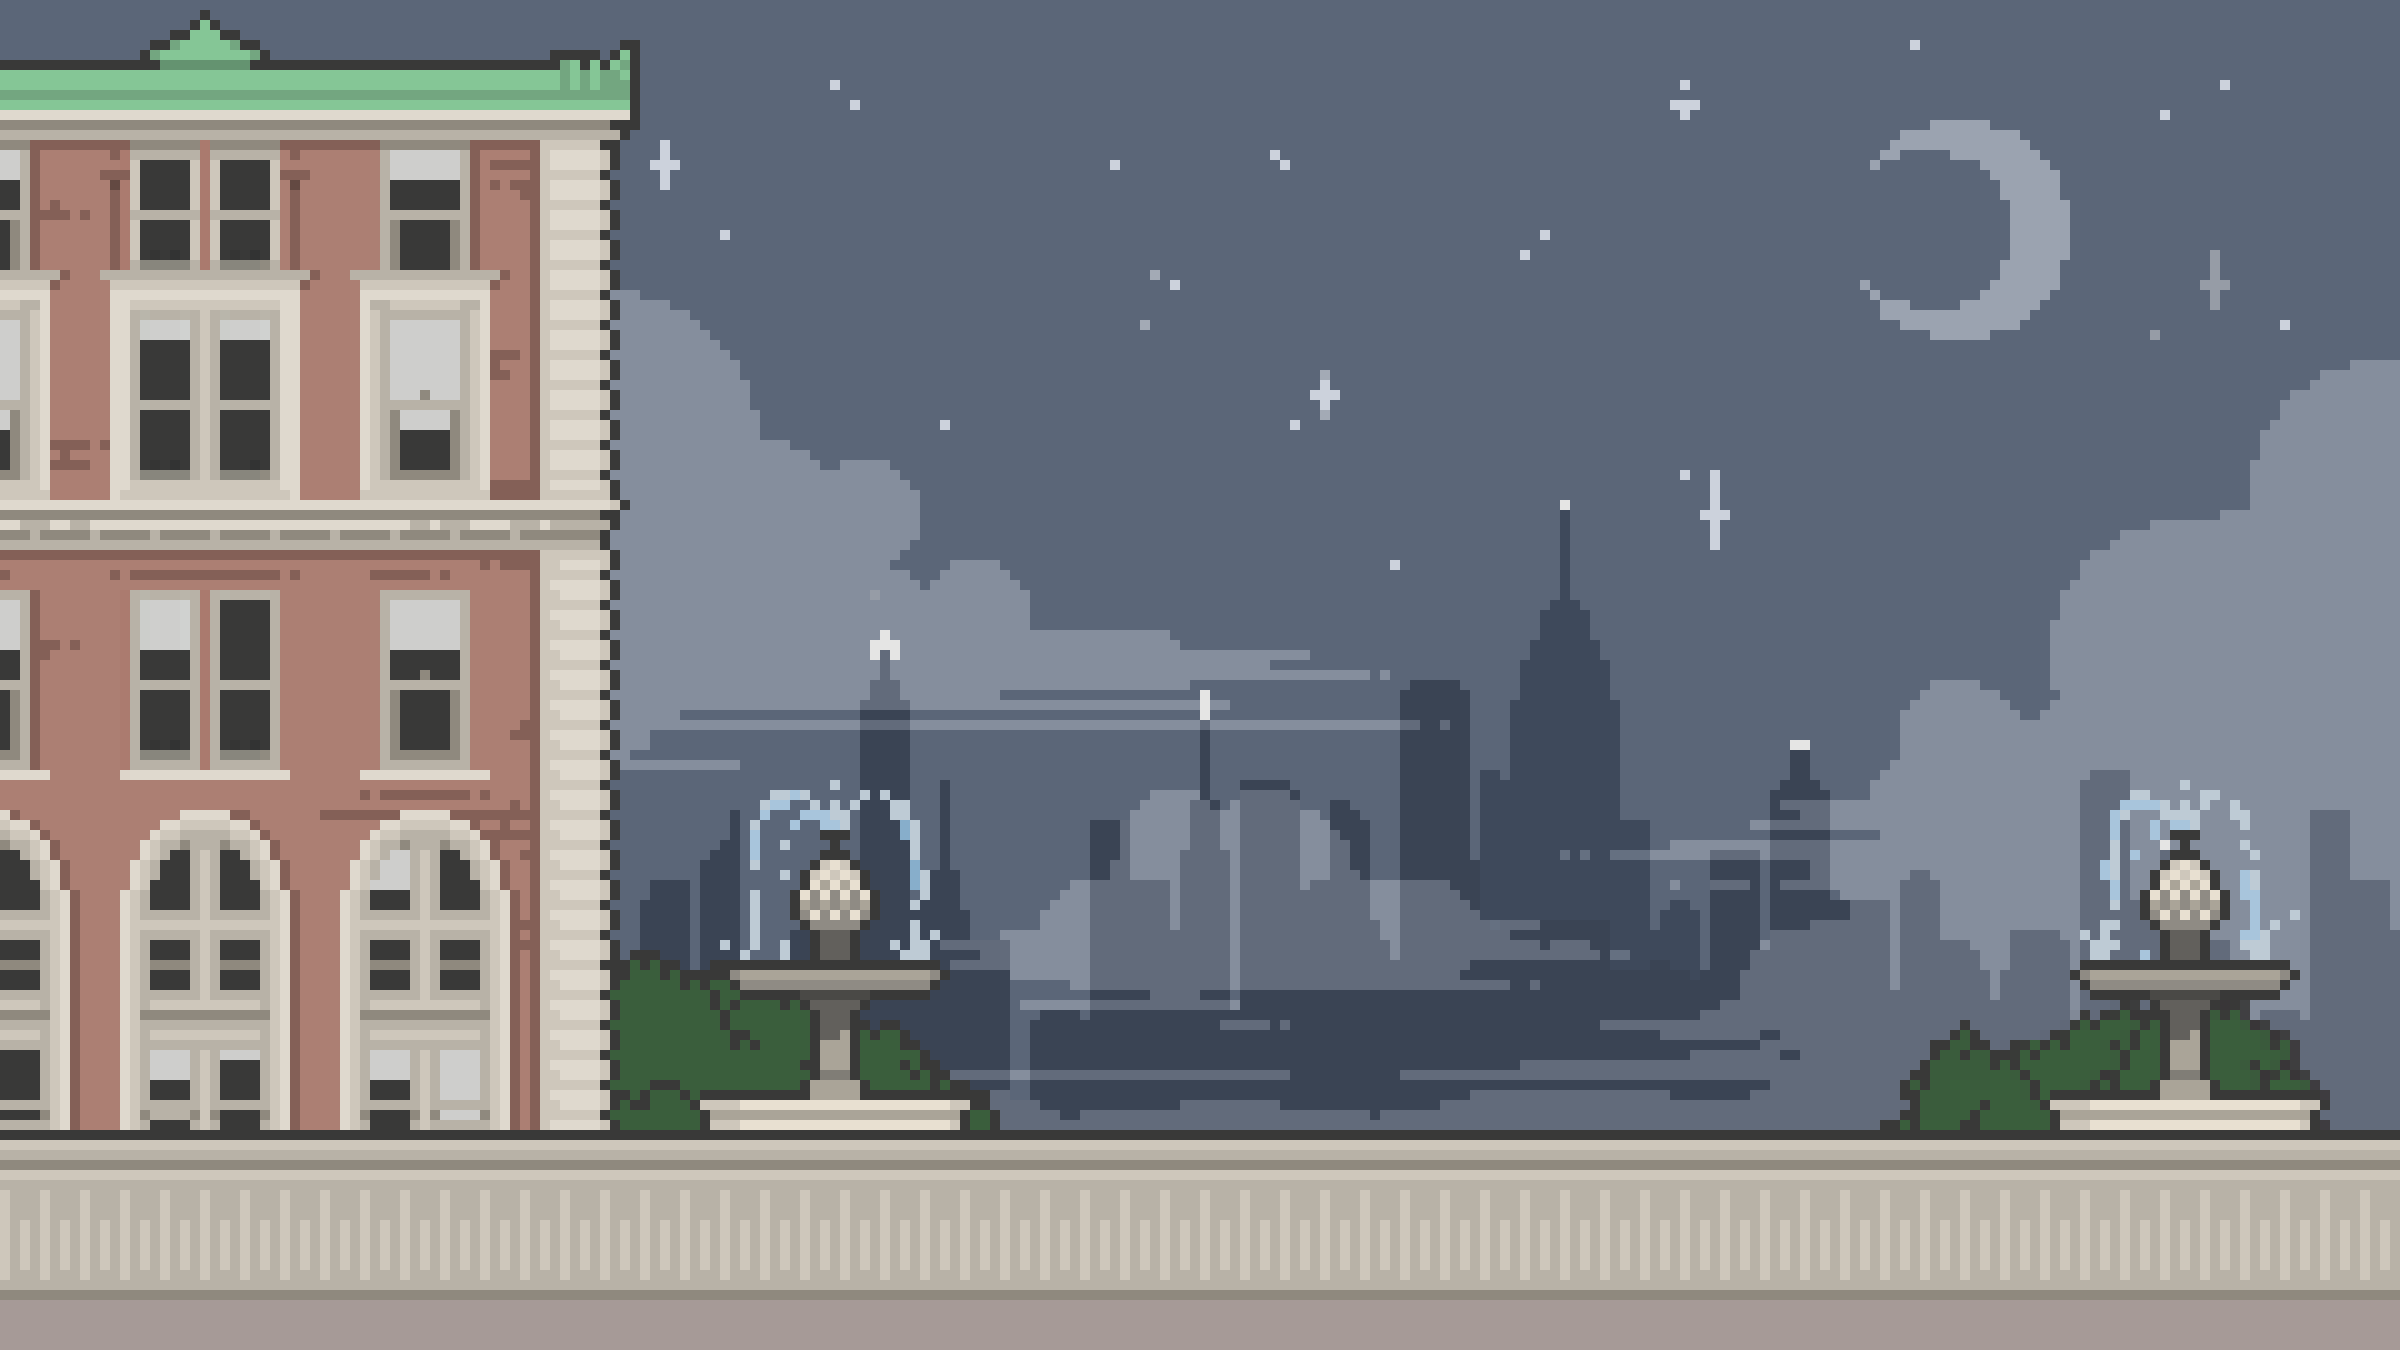
Graphics
Below are some of the graphics I drew for this project, in case you’d like to use them:

Huge thank you (again) to Tameem, for his Makerspace help ❤️