Sketchy (Module 2)
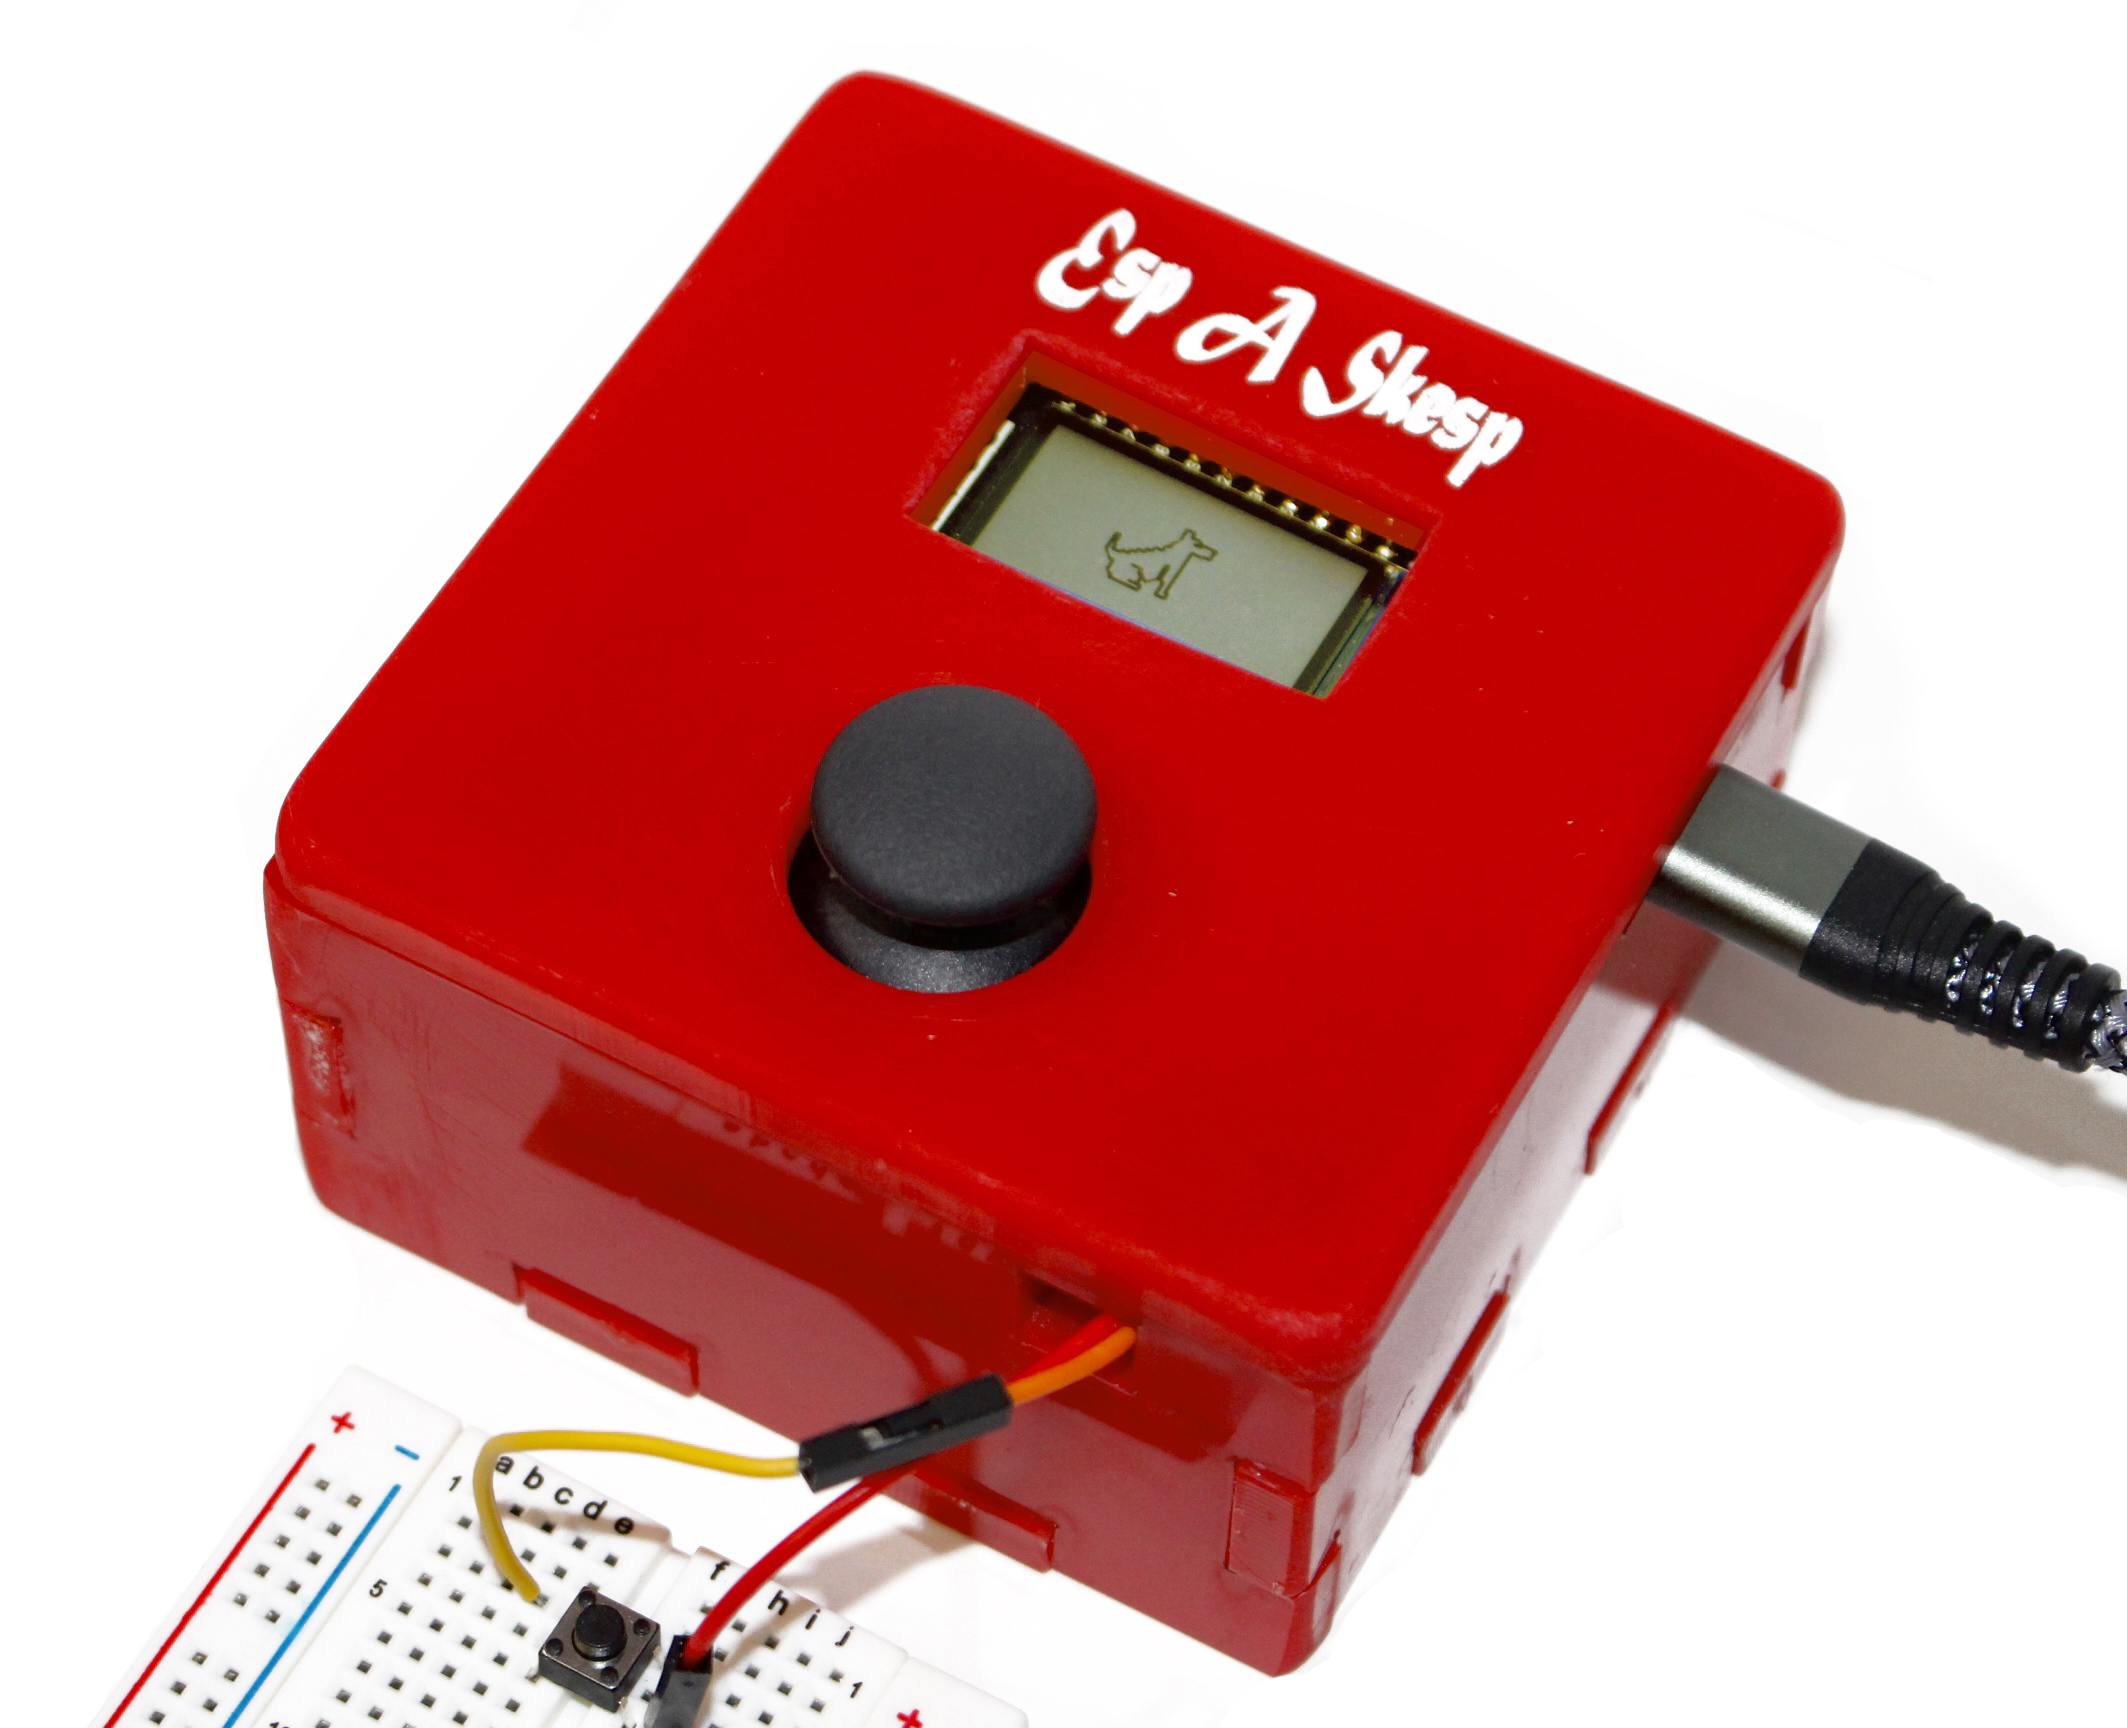
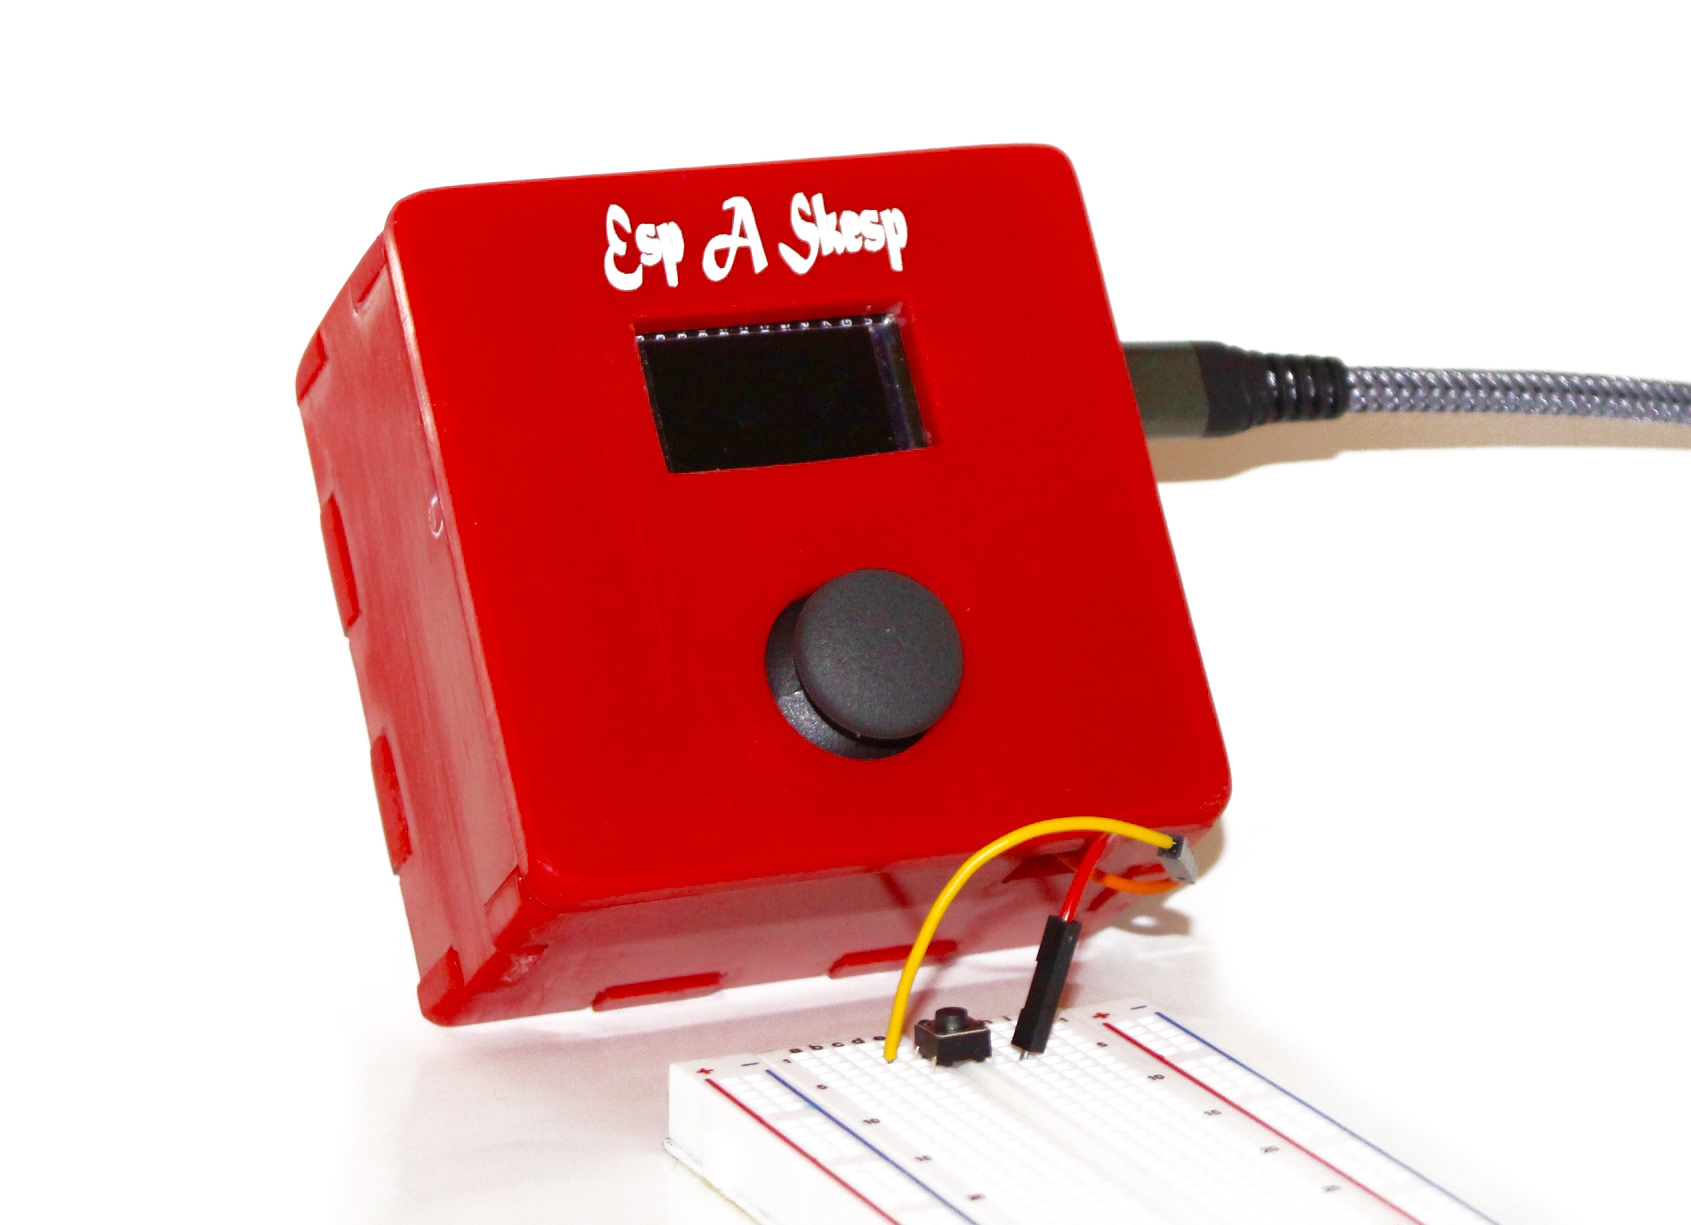
It's easy to get caught up in the busyness of everyday life. Remember when things were simple, and you didn't have to worry about debt, traffic, paying rent, and taxes? Connect with your inner child using the Esp-A-Skesp* (like an Etch-A-Sketch, but with an ESP32)!
This is a program that reads input from a joystick and a button and writes on the screen, like an Etch-A-Sketch. The joystick moves the "cursor" on the screen, and pressing the button clears the screen.
*I came up with this at 4am and it made me laugh...so I decided to keep it
Technical Overview
I've written out the steps I took to configure the Arduino IDE here.
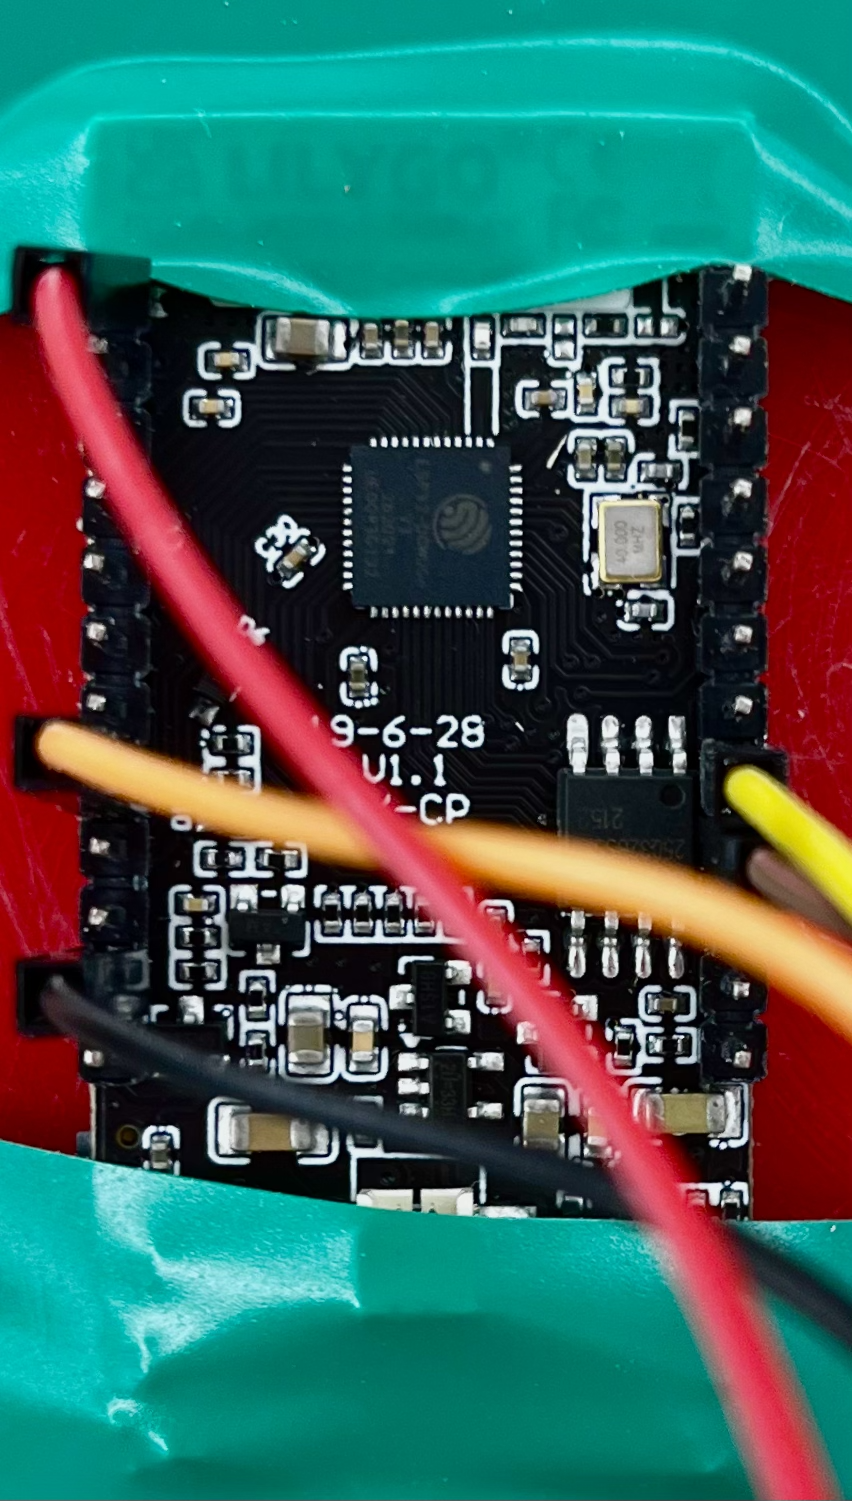
Wiring and hardware
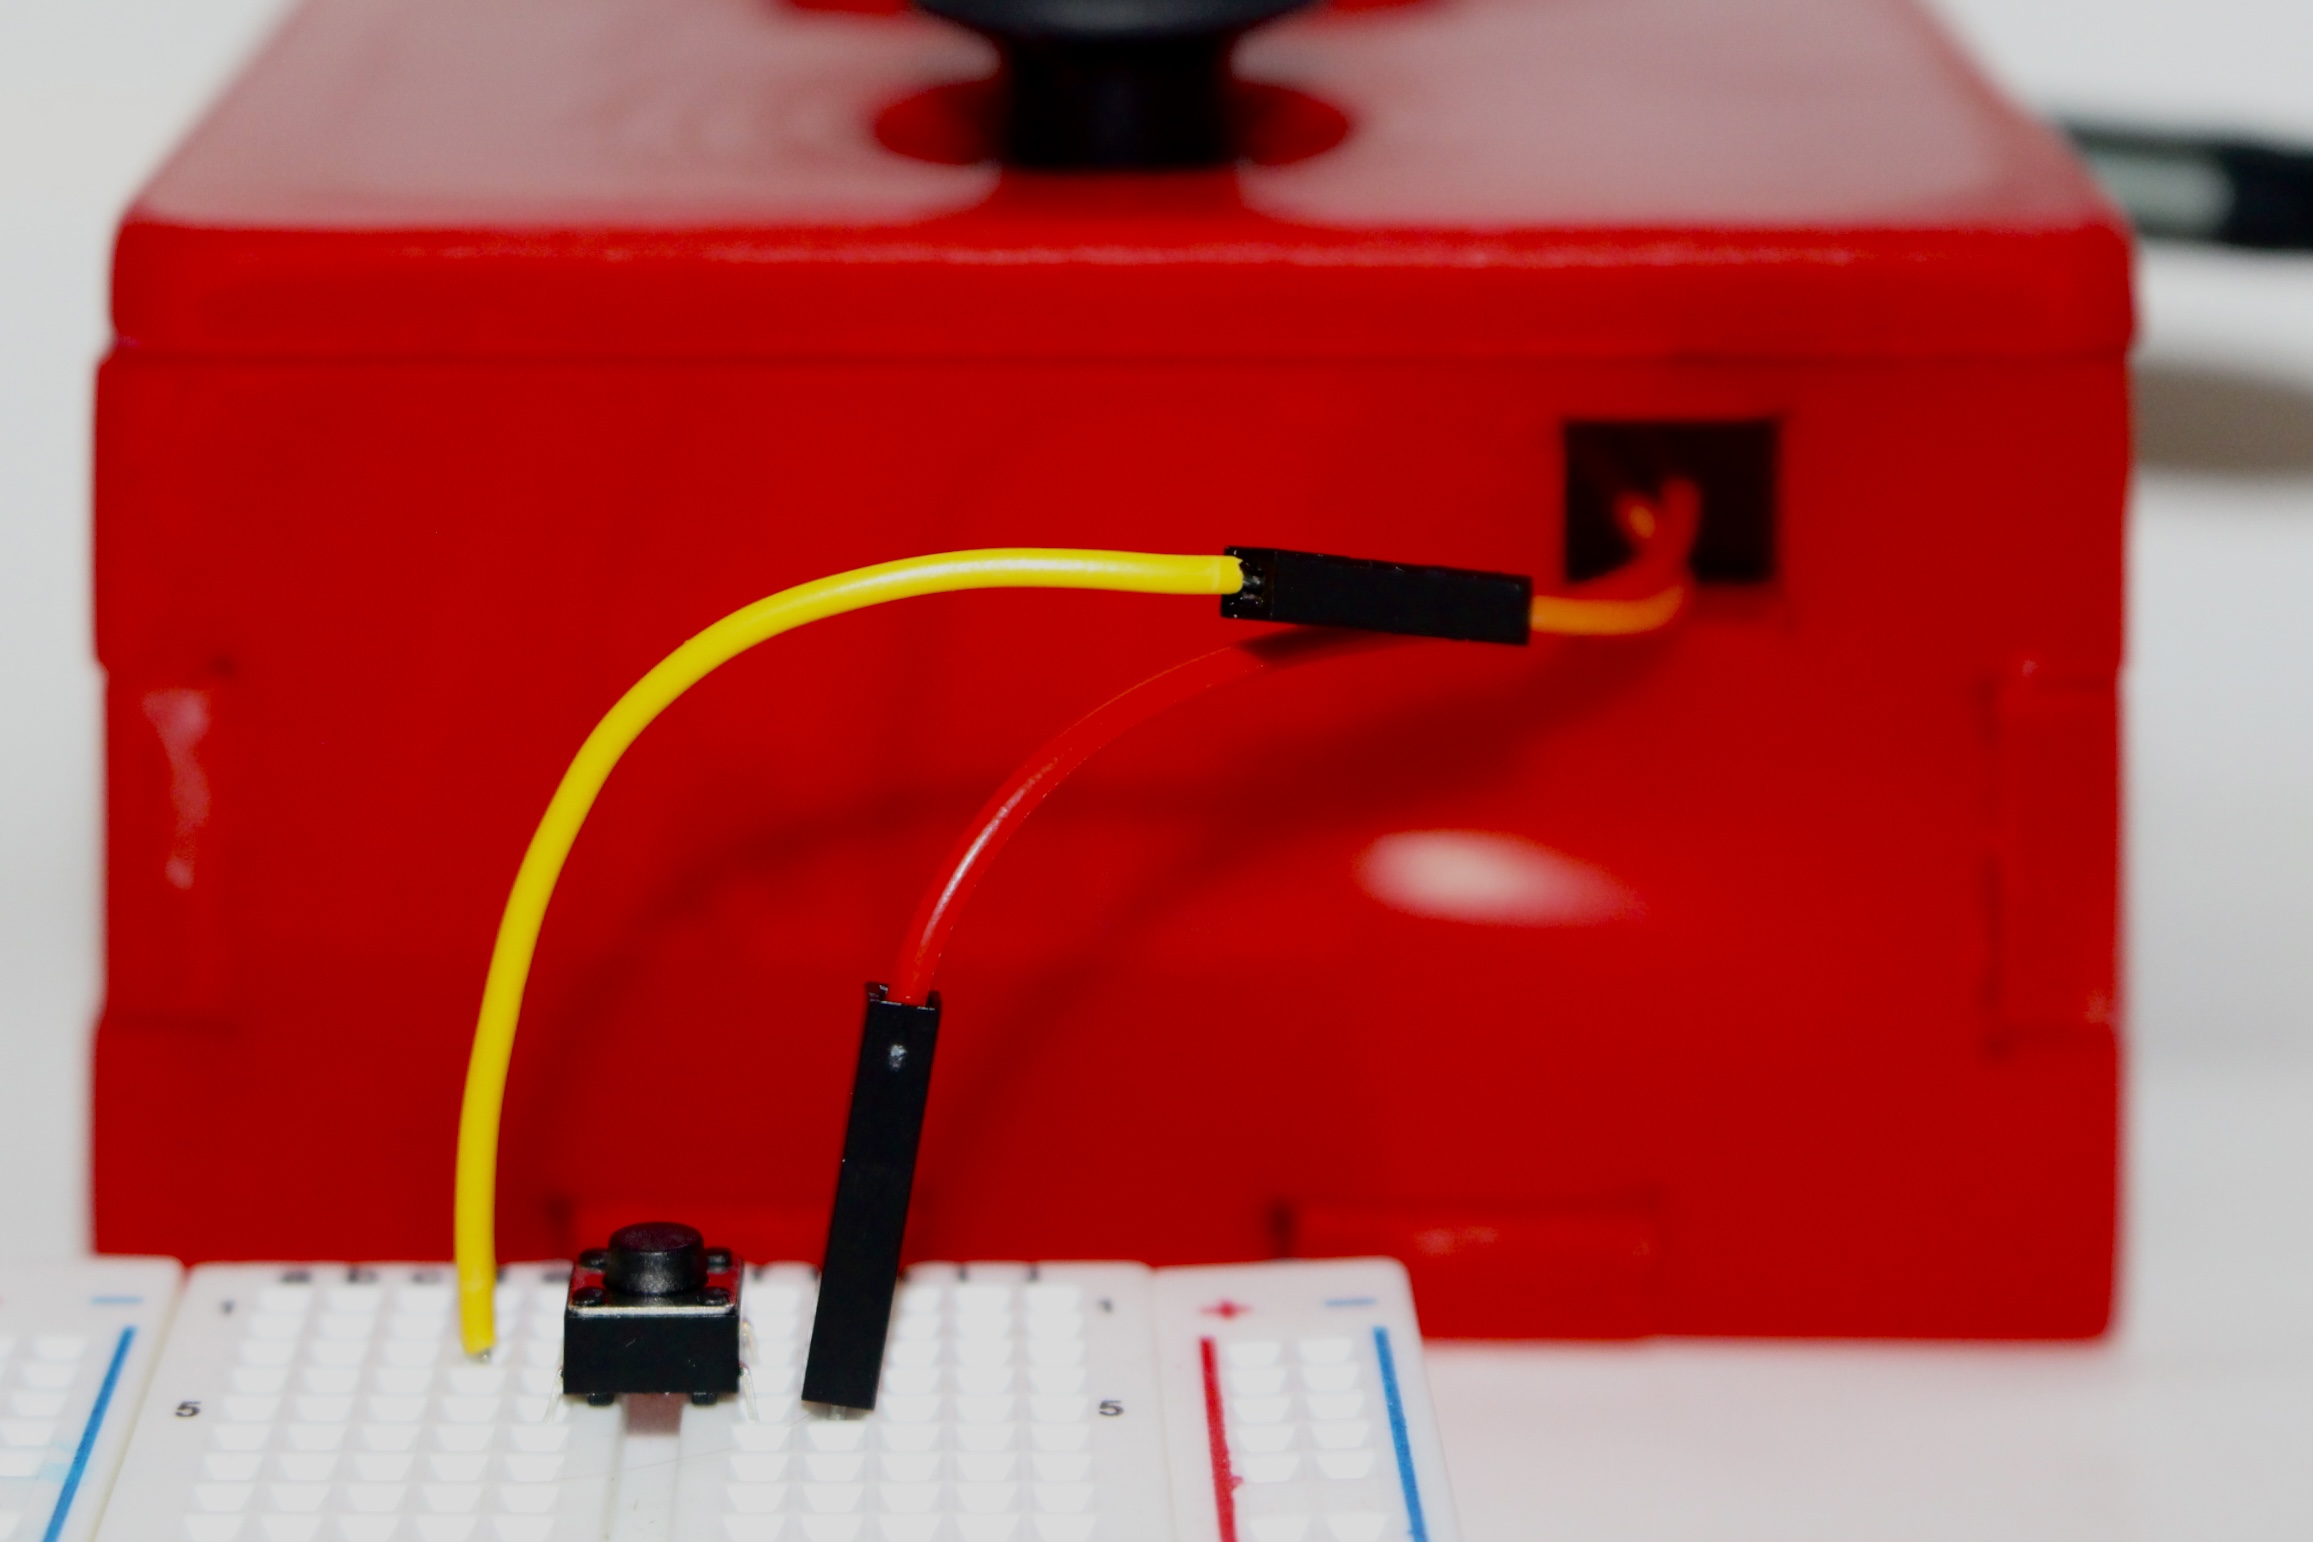
I used 7 wires, 5 female-to-female and 2 female-to-male. For the joystick, I connected ground on the joystick to ground on the ESP32 (black wire), 5V to a 3V3 pin (red wire), VRX to pin 13 (yellow), VRY to pin 12 (brown), and SW to pin 25 (orange):
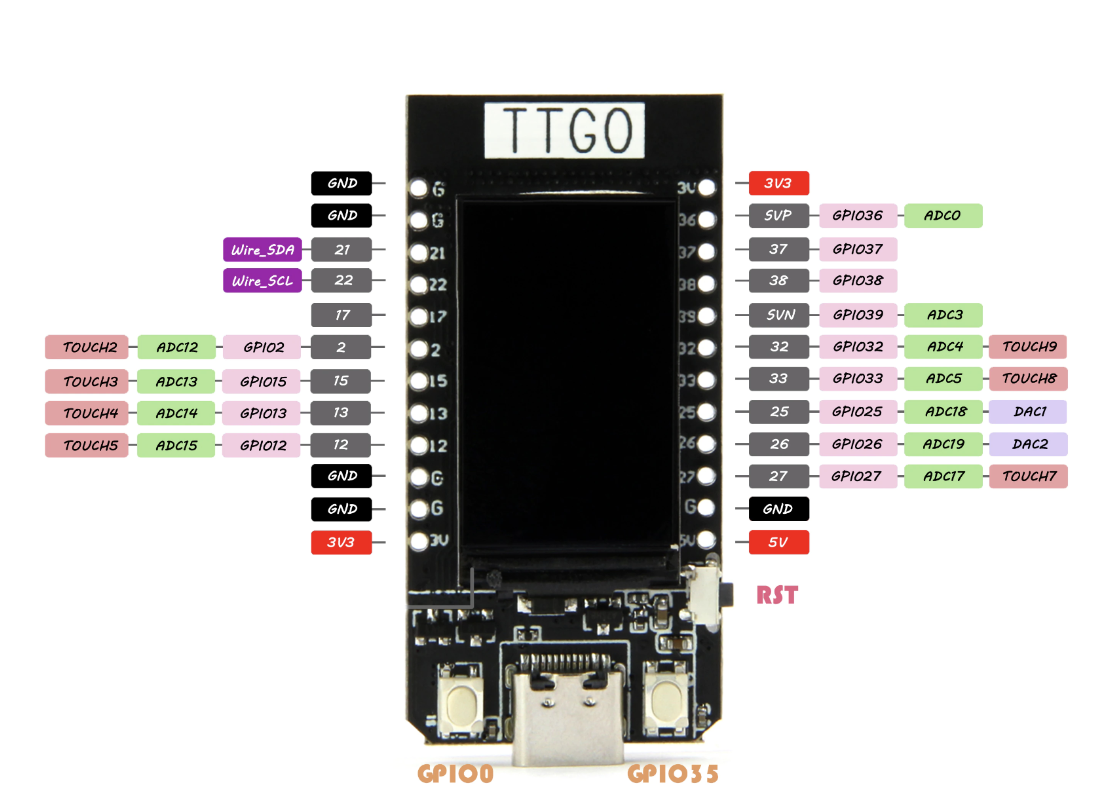
You can switch up the pins for X, Y, and SW, but X and Y must be ADC pins. The button connects to the ESP32 with two wires: one to ground and one to pin 15. I used all female-to-female wires for the joystick as a design choice, since I was enclosing the devices in a small box.
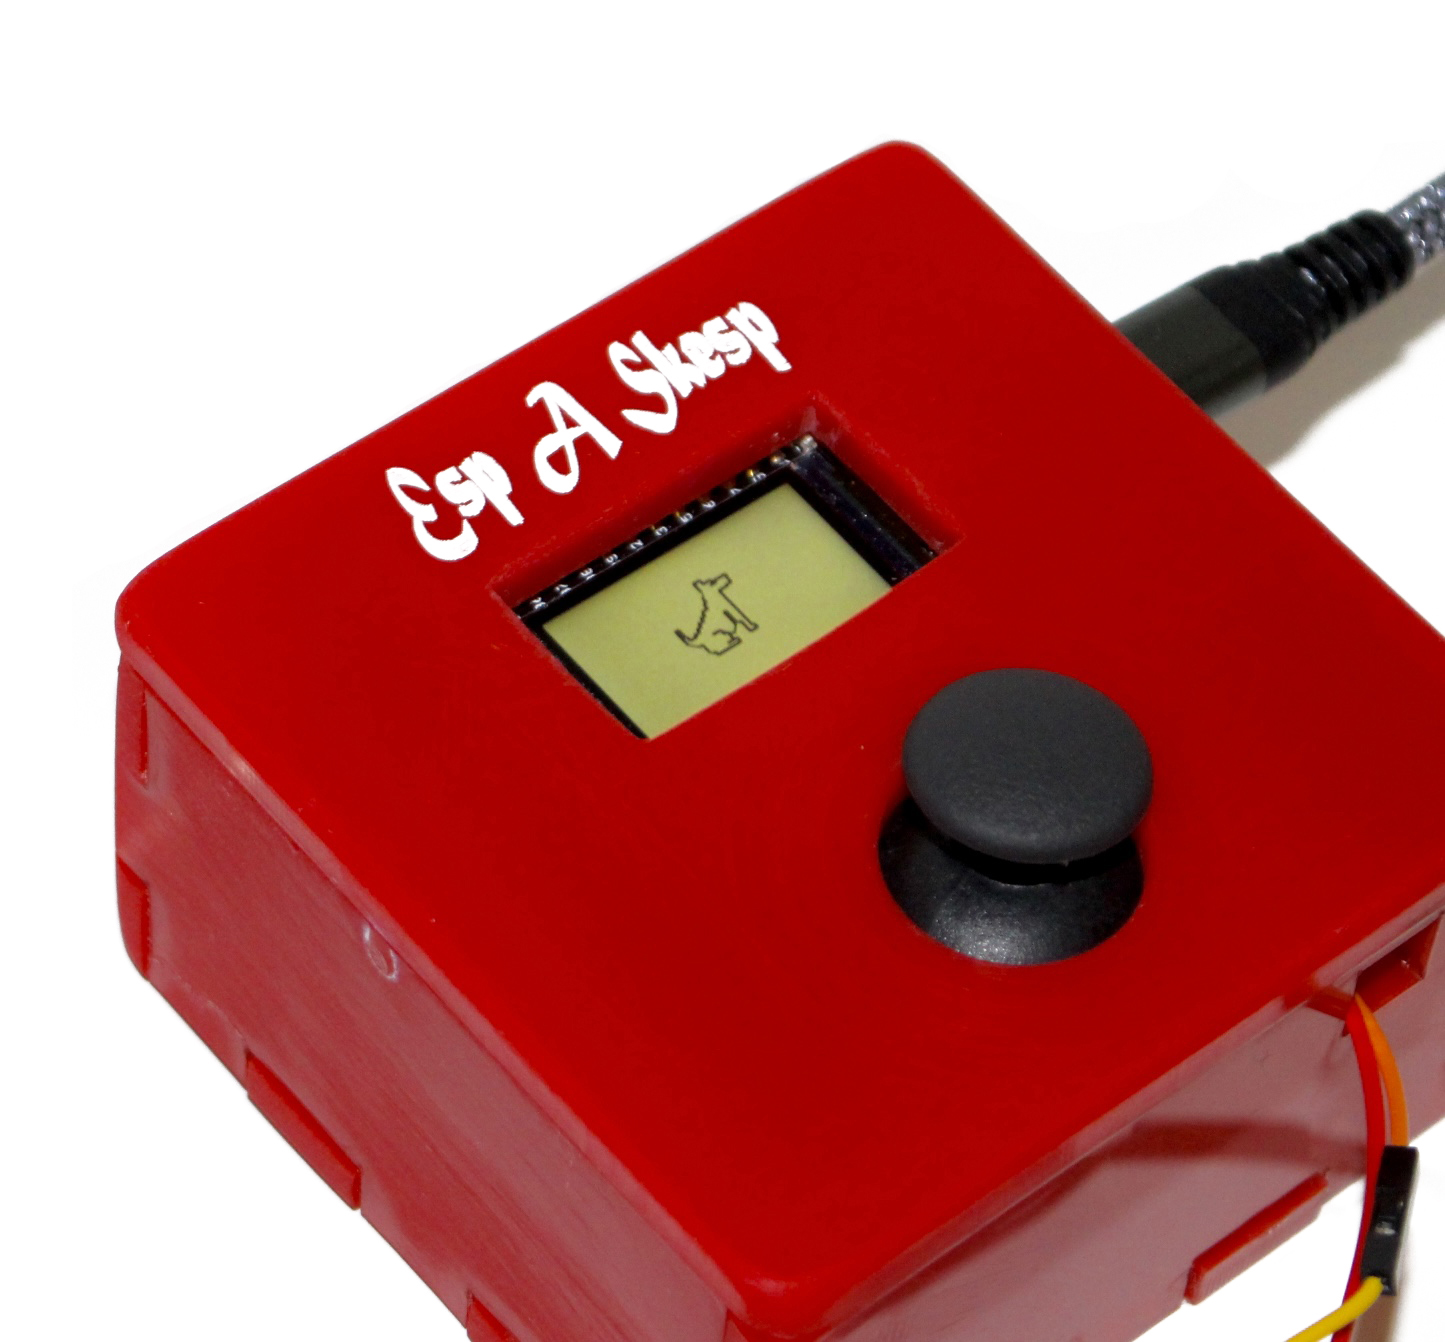
Enclosure
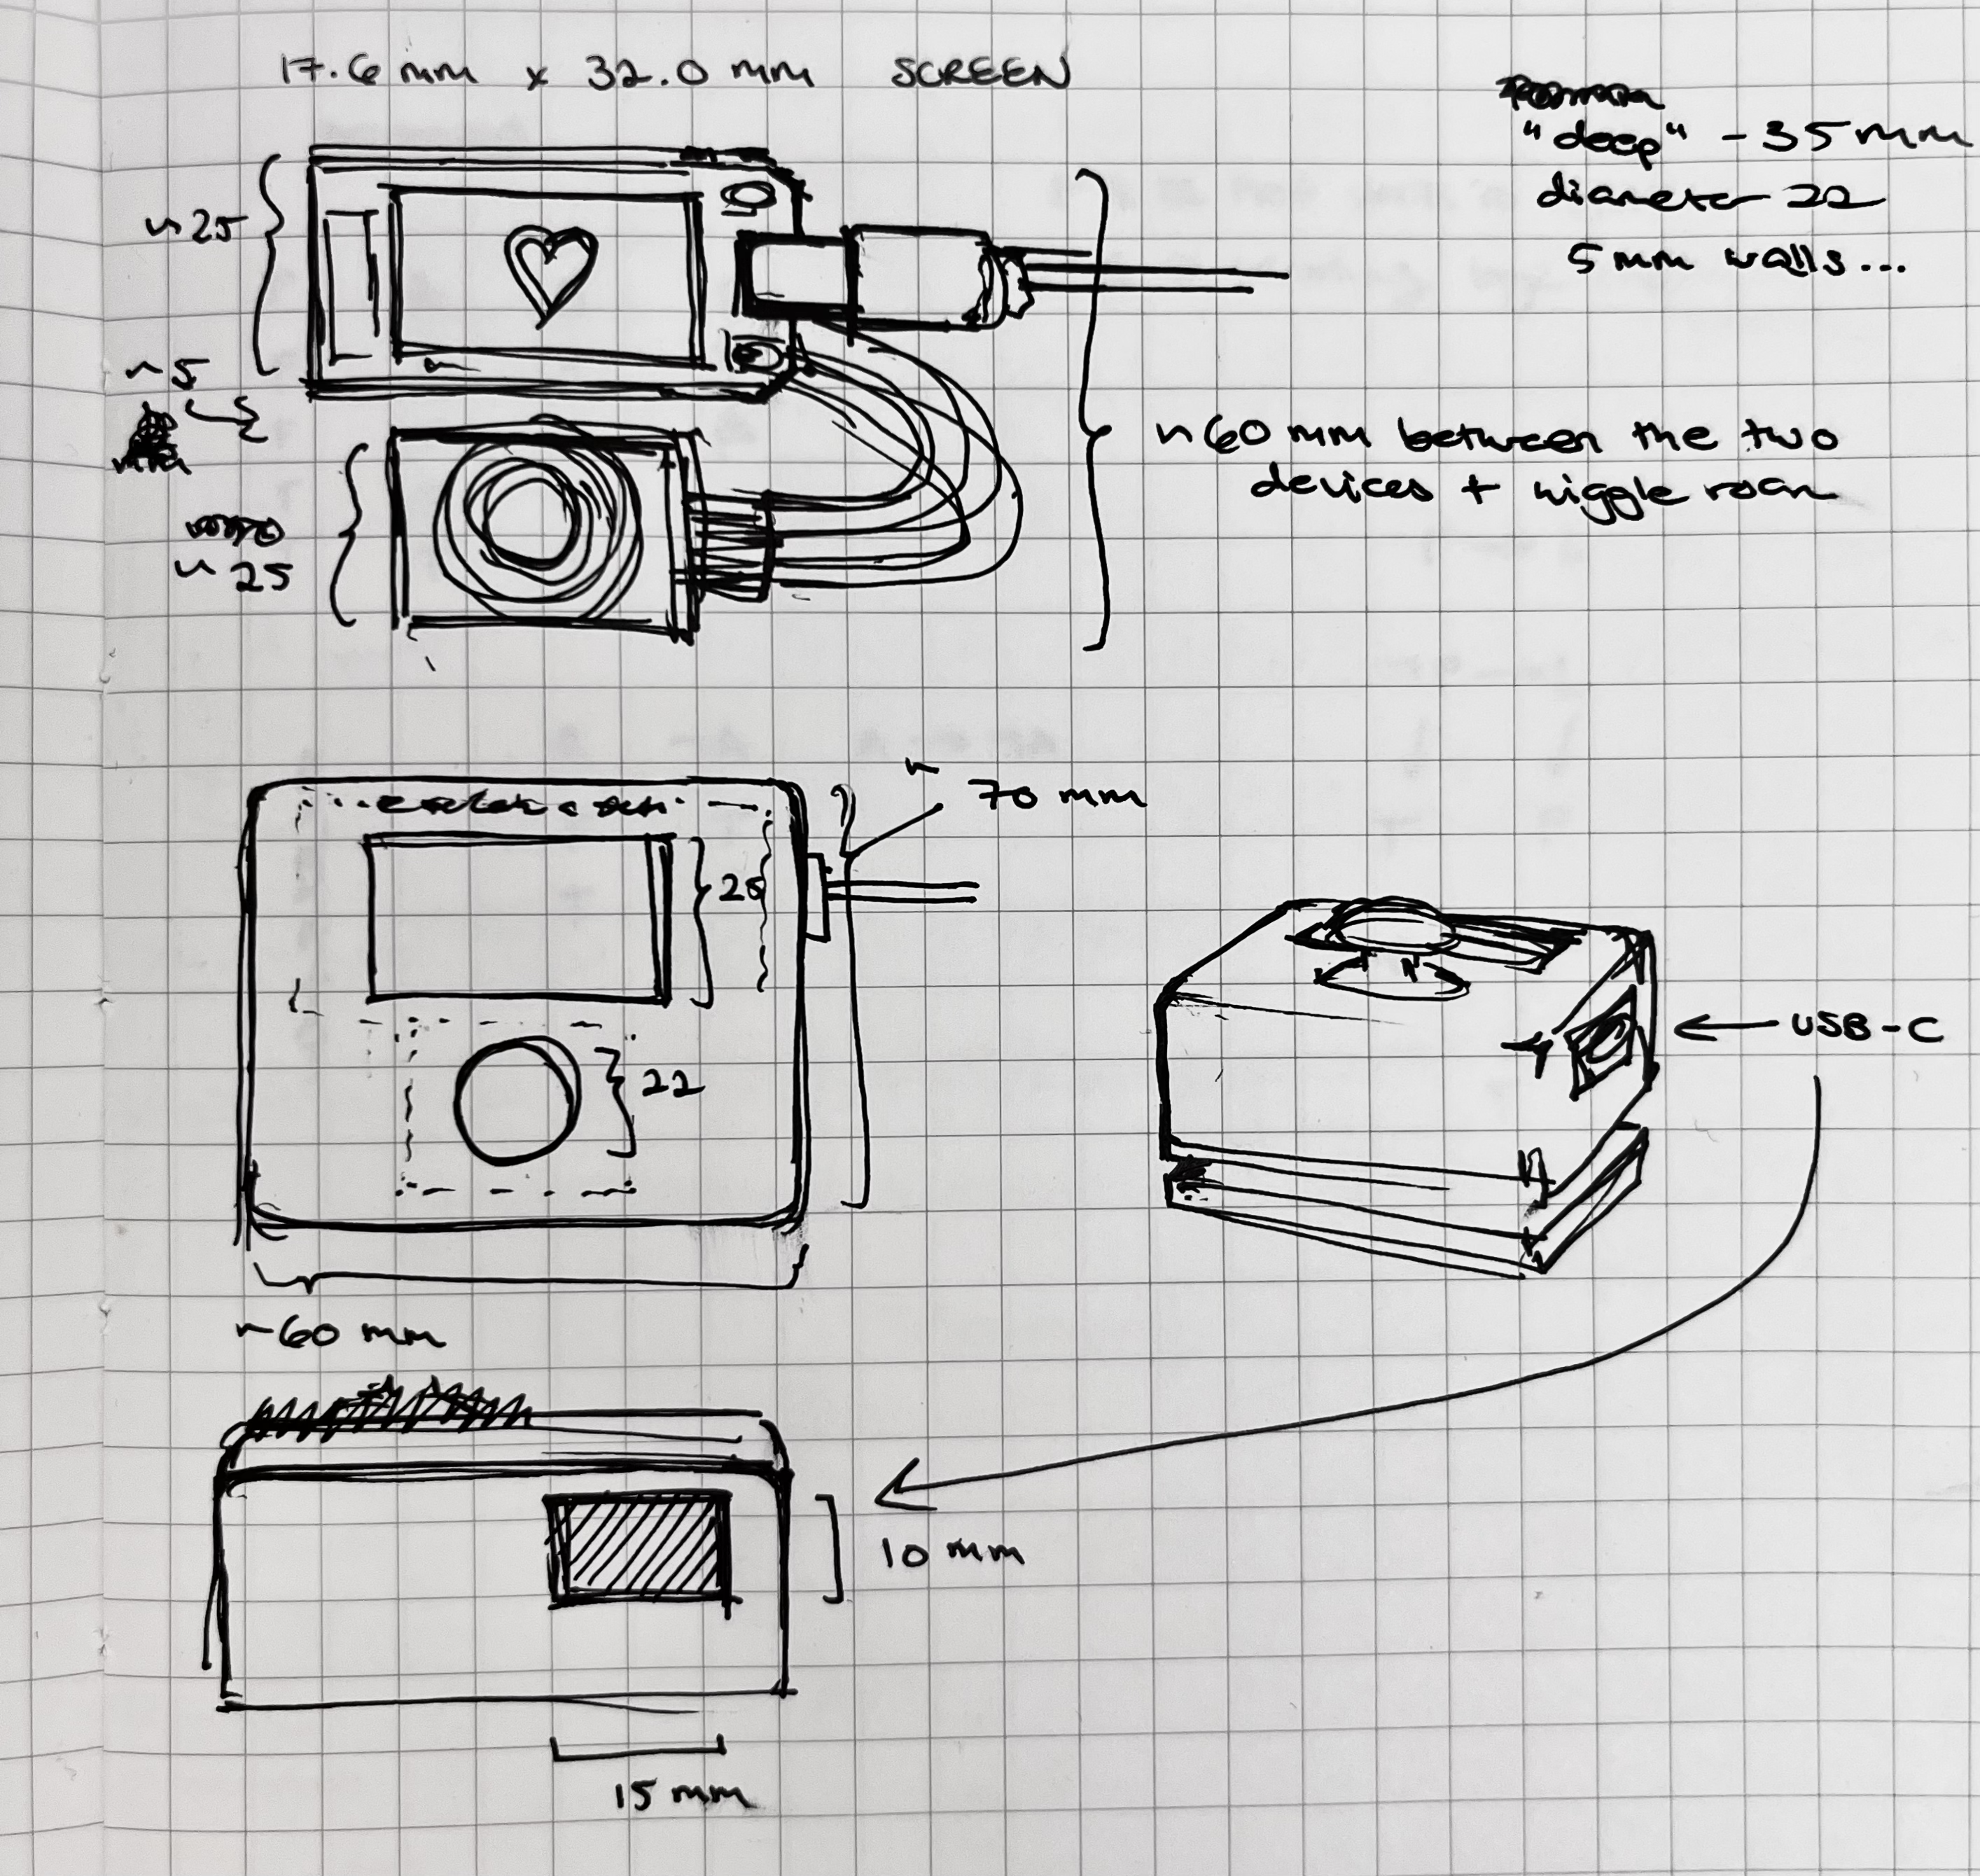
I wanted my enclosure to imitate an actual Etch-A-Sketch as faithfully as possible. I figured that I'd inevitably run into some logistical difficulties, though, so my main (attainable) goal with the enclosure was to evoke that retro aesthetic: solid, bright colors and chunky, awkward text. I had originally intended to 3D-print the box for the enclosure. I made some sketches on paper first, using the dimensions of the ESP32 and approximating the dimensions of the joystick and my USB-C cord, then used OnShape to create a CAD file for my design.
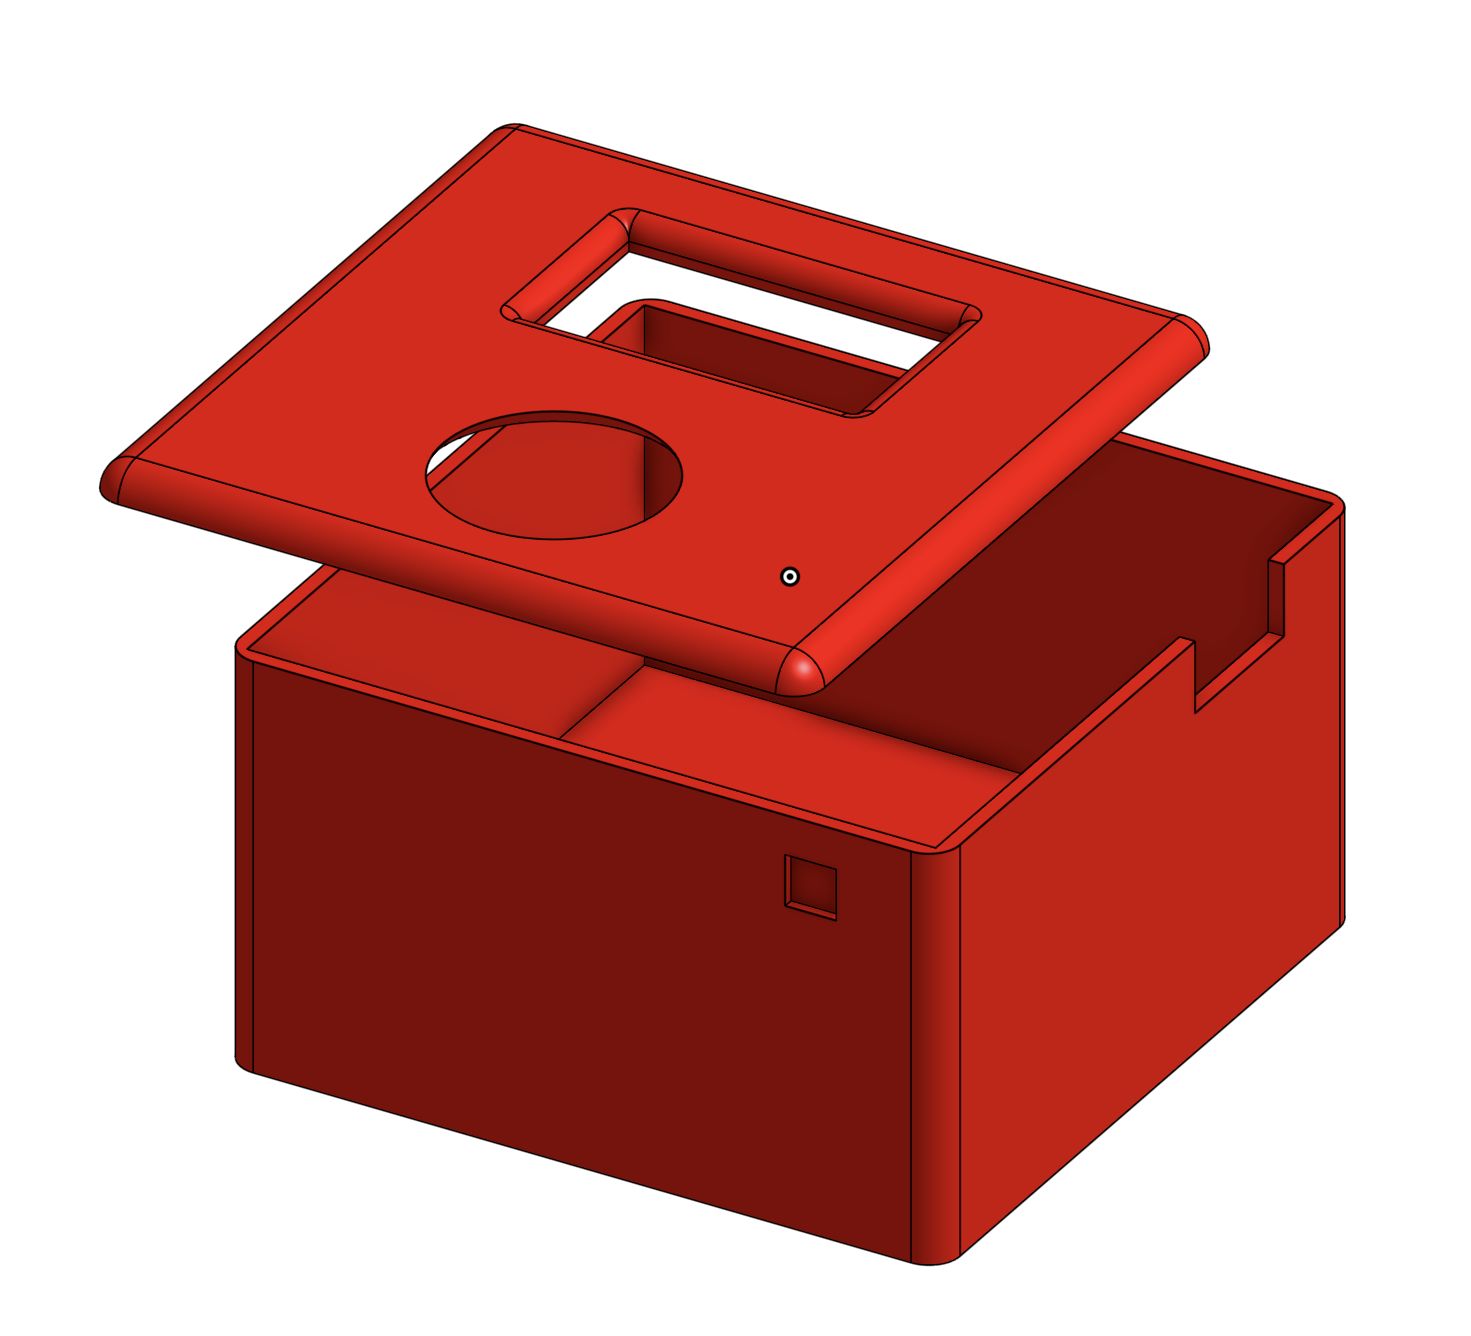
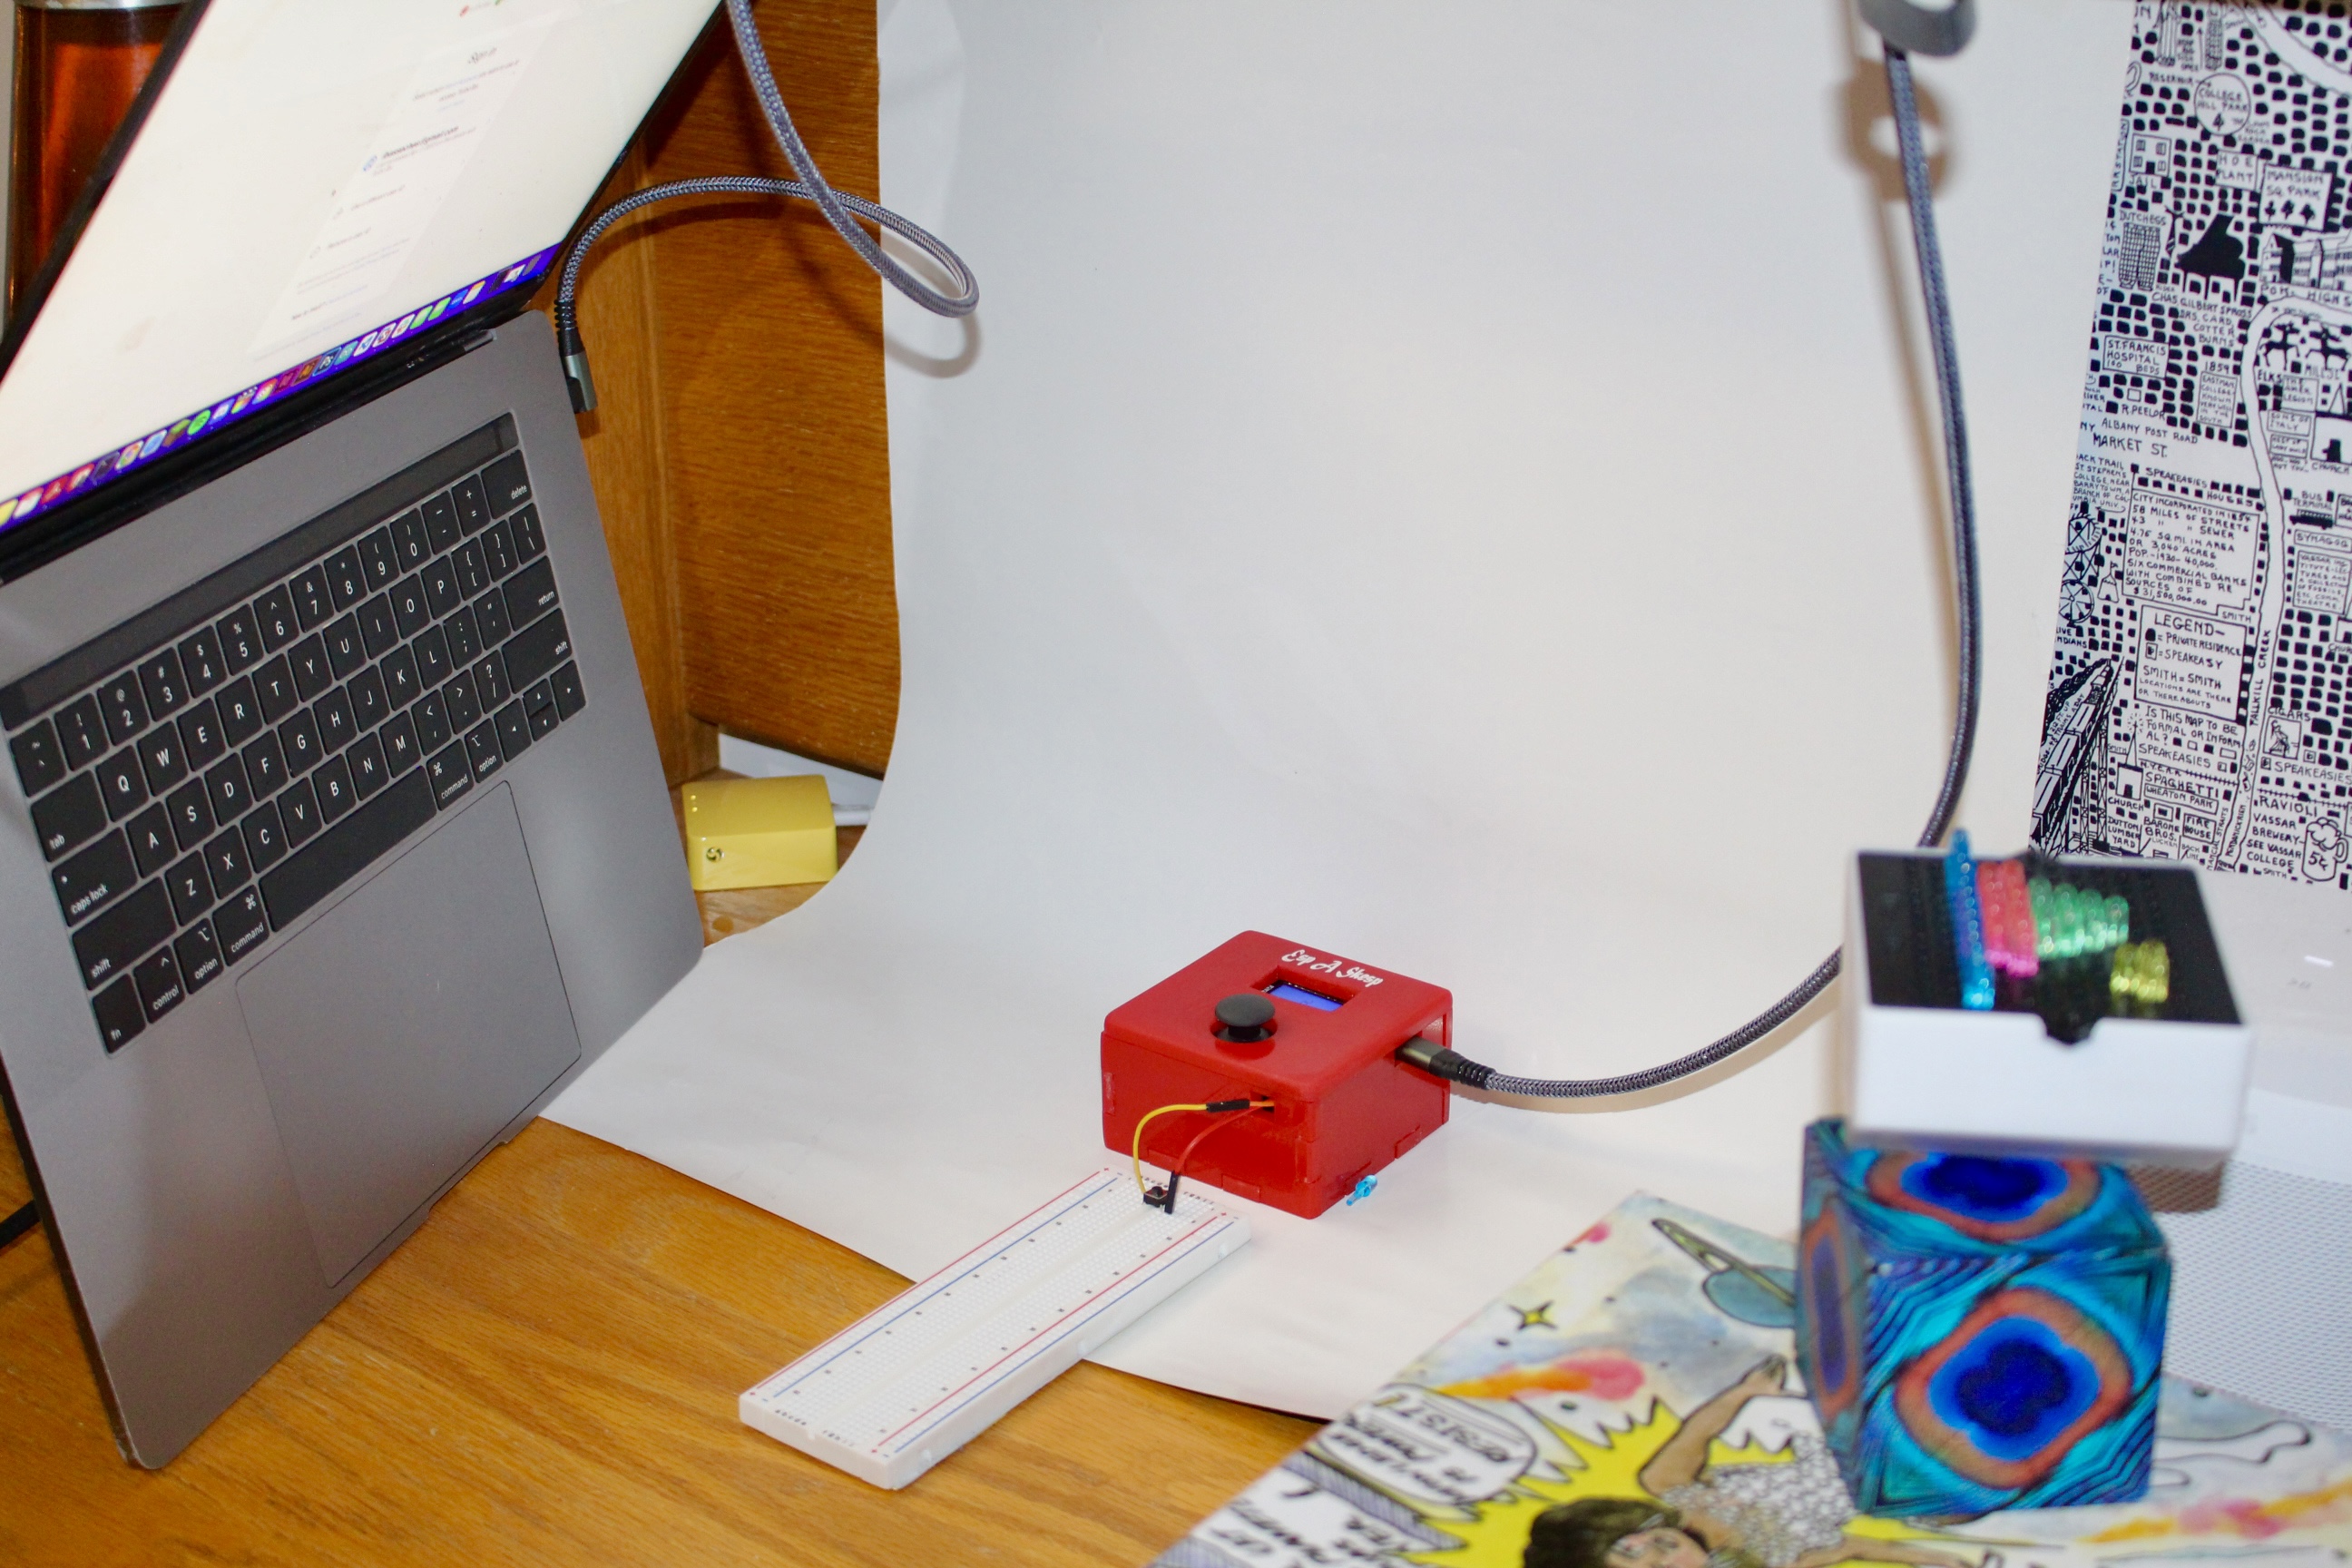
One design choice that I'd change in a future iteration was the placement of the button on a breadboard outside of my enclosure. I didn't have another, smaller breadboard that would fit inside of my enclosure, and I wanted to keep the dimensions as small as possible, given how small the screen on the ESP32 is. Instead, I added a little hole in the enclosure wall for the wires to connect the ESP32 inside to the breadboard outside.
I went to the Makerspace with my design, and—after a chat with my friend, Nader—decided that laser cutting would be a better choice than 3D-printing (for a few reasons: the printers were all taken, he told me it'd take upwards of 12 hours to print this, color is not guaranteed, and the "right" choice for boxes is laser cutting). Material choice with the laser cutter is much more flexible, and I was able to cut on a nice, red 6mm acrylic. Because I was laser cutting now, my CAD file was useless, but luckily it wasn't too much work to port things over to Thunder Laser's software. I used this website's premade templates for the box's body with the following settings:
- Basic box template
- Width: 70mm; height: 35mm; depth: 70mm
- Inside dimensions
- 6mm thickness (for my material)
- Open box
- Finger joint (finger width: 14.25mm)
The lid for the box was also 70mm x 70mm, with a cut out circle (20mm diameter) for the joystick and a 32mm x 17.6mm window for the ESP32. I added some holes for the USB-C and for the outgoing wires to the button. I used the default settings for the laser cutter (listed at the Makerspace). My first iteration used a closed box, with fingers on the lid, but after cutting, I didn't like how clunky it ended up looking, so I separated the lid from the body.
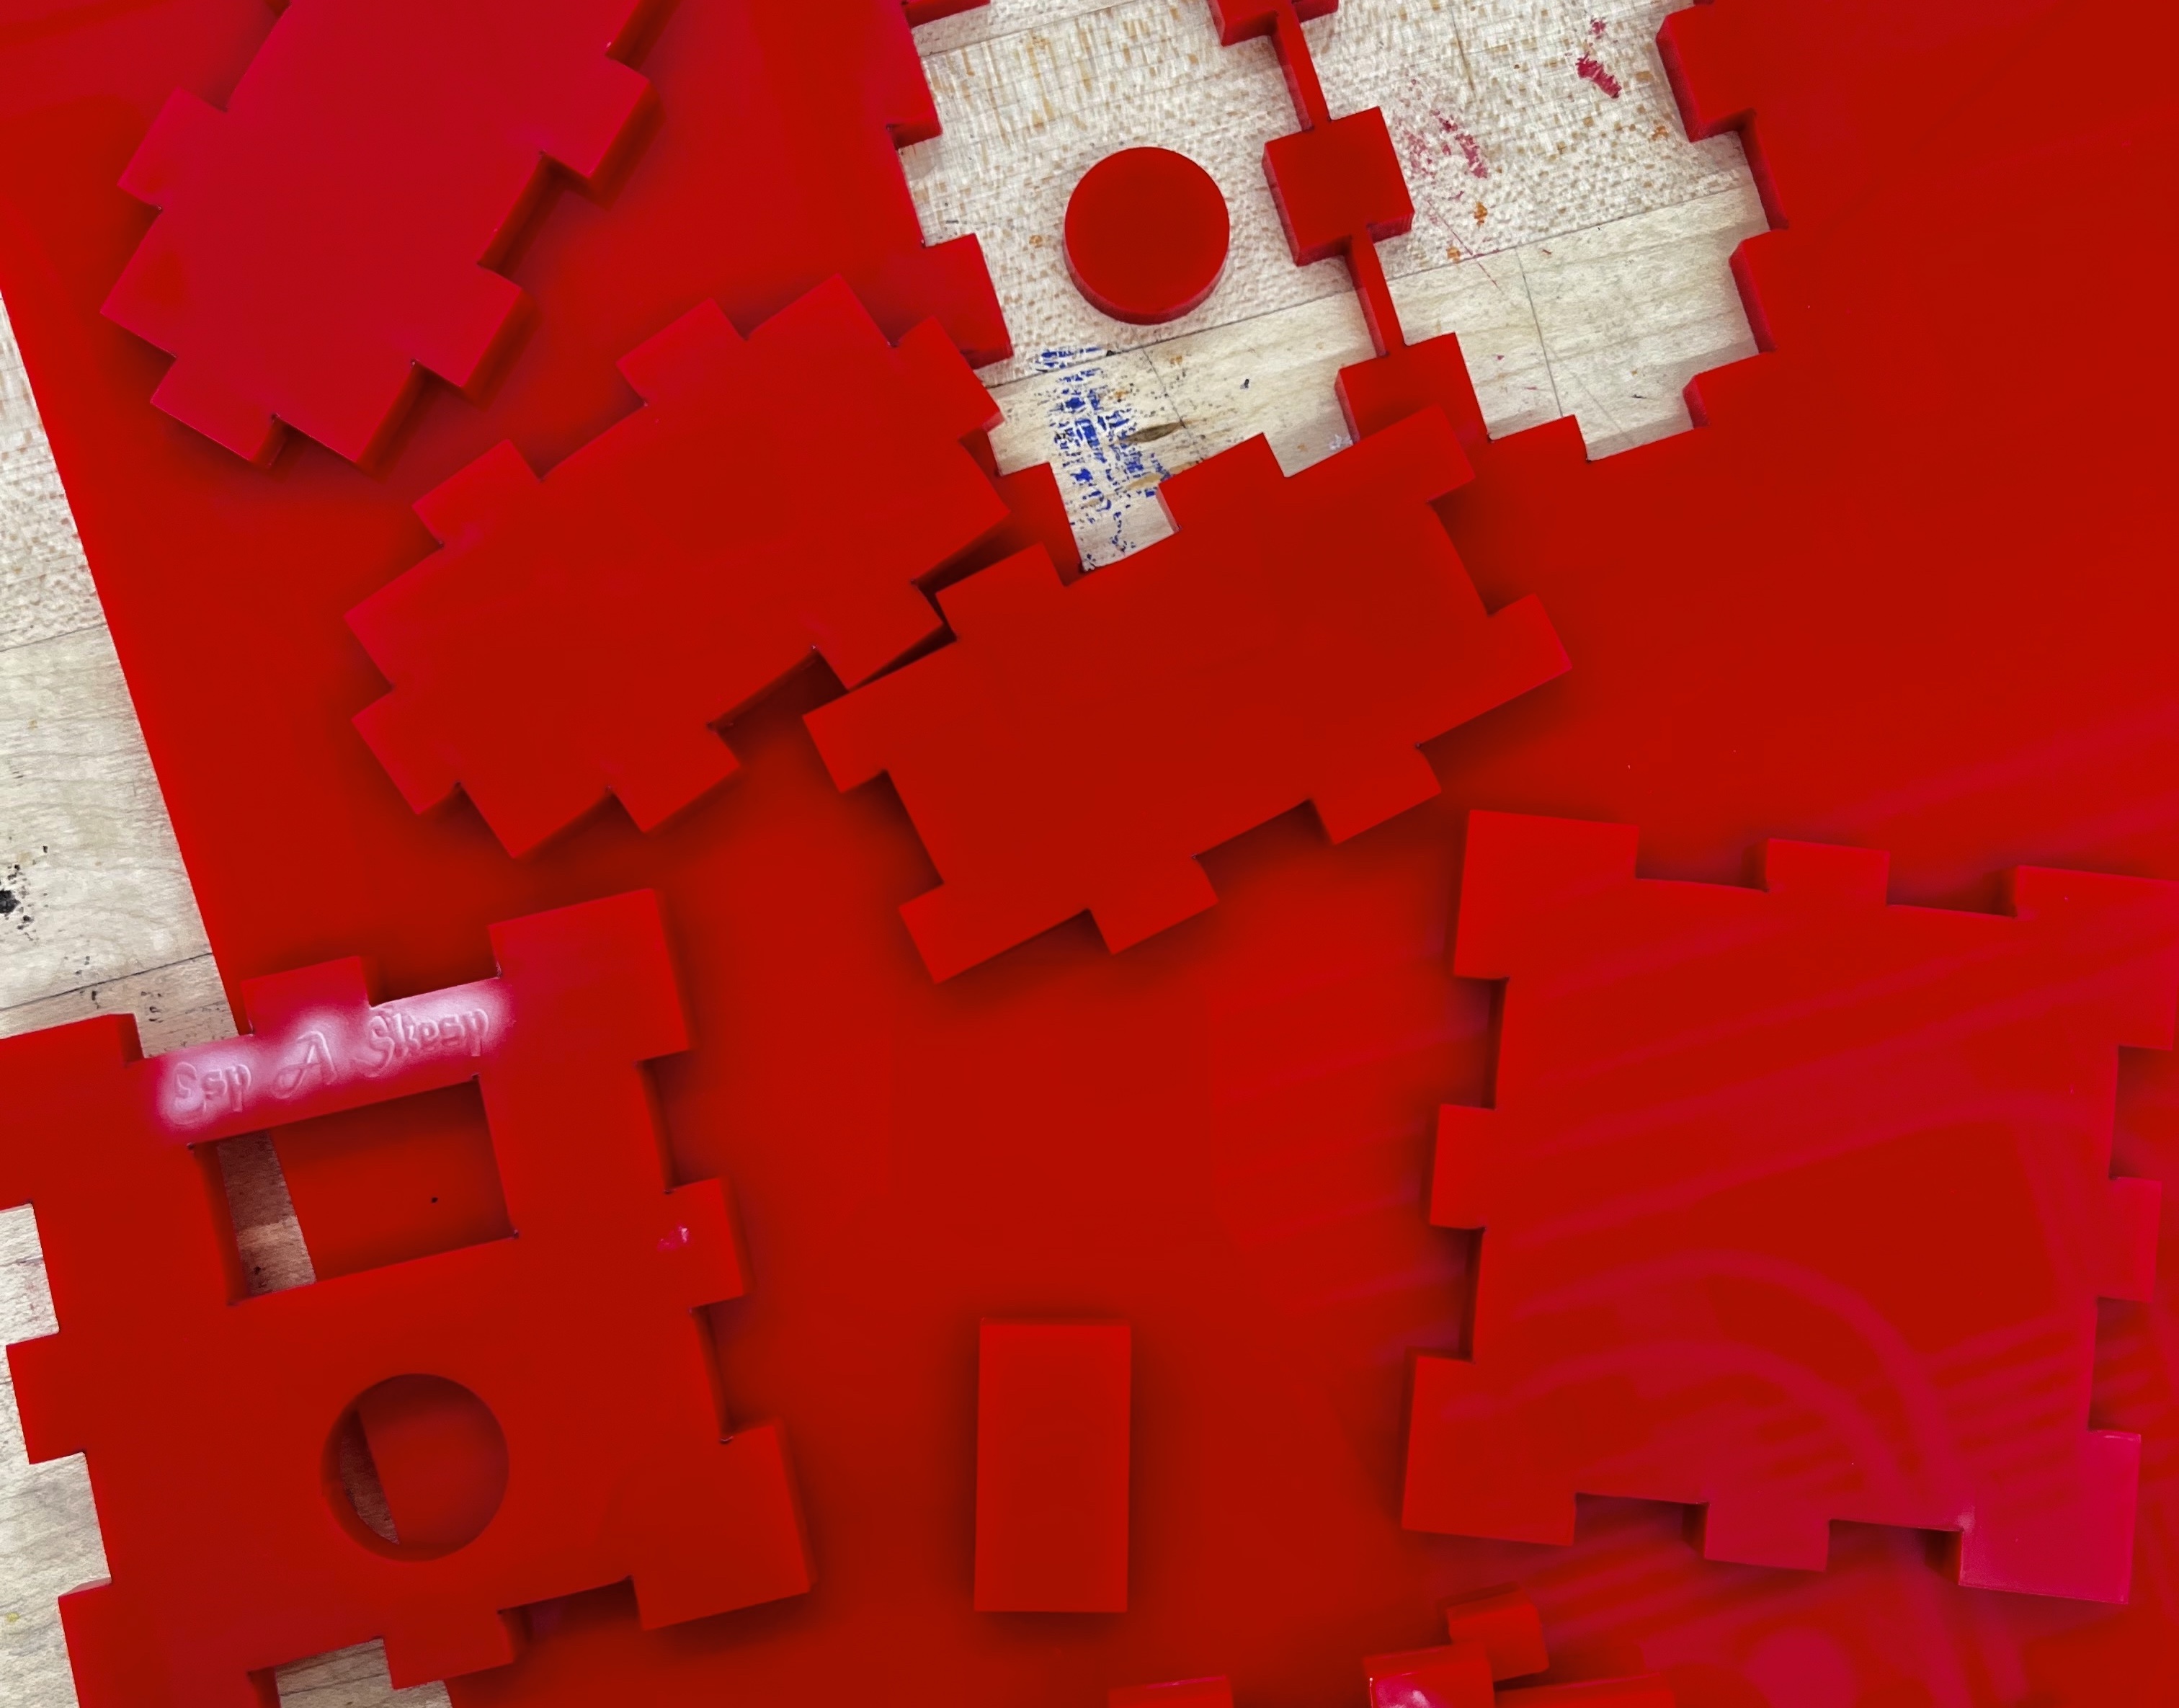
I assembled with acrylic glue (definitely crazy toxic, I felt days being taken off of my lifespan while using it...). I used a paint marker to fill in the engraved text. At this point, I started sanding down the edges to round them out. While this isn't an essential detail, I really liked the look of the fillets in my CAD design. This was definitely the most tedious part of the process, and took a few hours.
With the enclosure finished, I stuffed everything in the box (turns out I underestimated the depth of the box a bit, so the wires were a bit squashed, but it still worked). Things at this stage were finnicky, and I had to put some paper and an eraser into the box to "mount" the joystick so that it wouldn't move when pressed. I glued the top of the box on with a weaker glue, since I wanted to be able to disassemble after I was done.
too lazy to go to the design center? make your own
Huge thank you to my dear friends, Tameem and Nader, who are Makerspace superusers, and were great help along the way ❤️